
I wrote the post below eighteen months ago (February 2015, but didn’t publish it at the time because I hoped to develop the idea commercially. I had extended discussions with an equipment manufacturer, but the project didn’t ultimately come to fruition. I have recently been asked for instructions for the pack cape and have decided to make it public for anyone who is interested. I have since made pack cape mark II ( see here) from scratch by way of experiment and it turned out well, albeit a little heavier than the original. Let me know if you want any clarification…
I had it in mind to invent some sort of shoulder cape to protect the area where the shoulder straps of my backpack rest on my raincoat which has the effect of allowing rainwater to seep through my otherwise waterproof jacket.
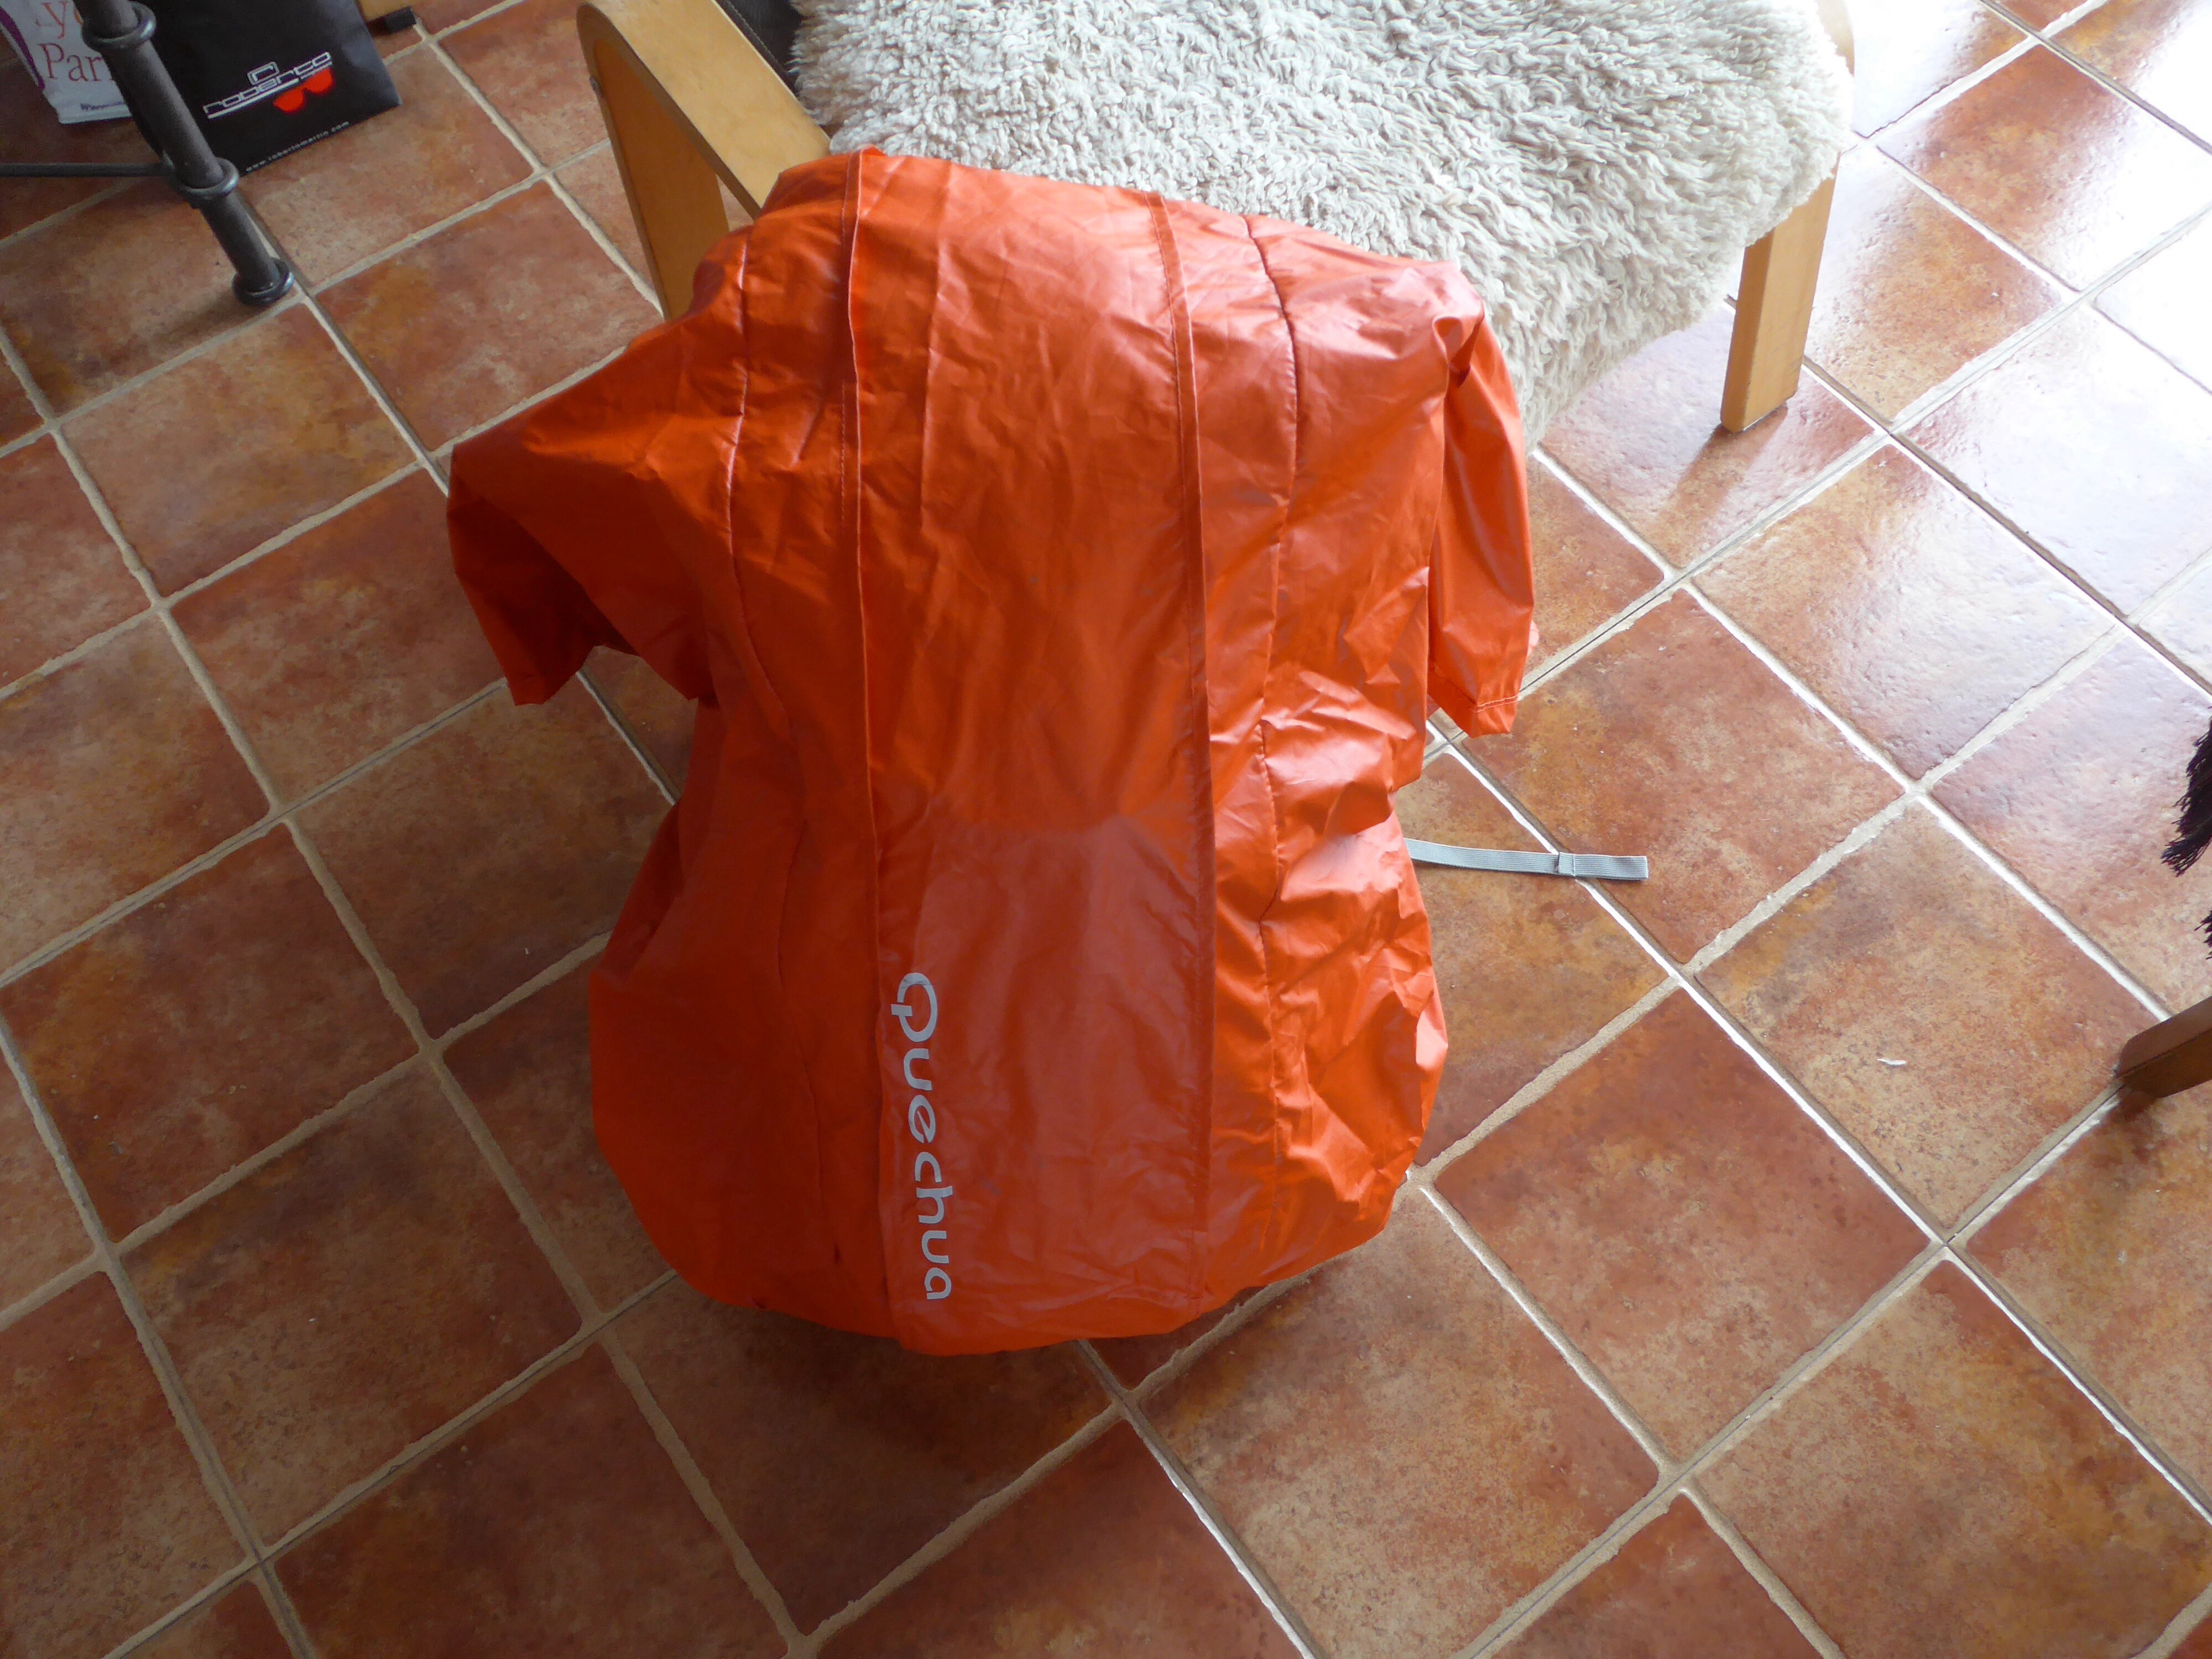
Meanwhile I purchased a new rain cover for my pack, but inadvertently picked up the wrong size – 80 litres for my 35 litre pack.Rather than return the cover to the shop I decided to experiment with the materials I had to hand.
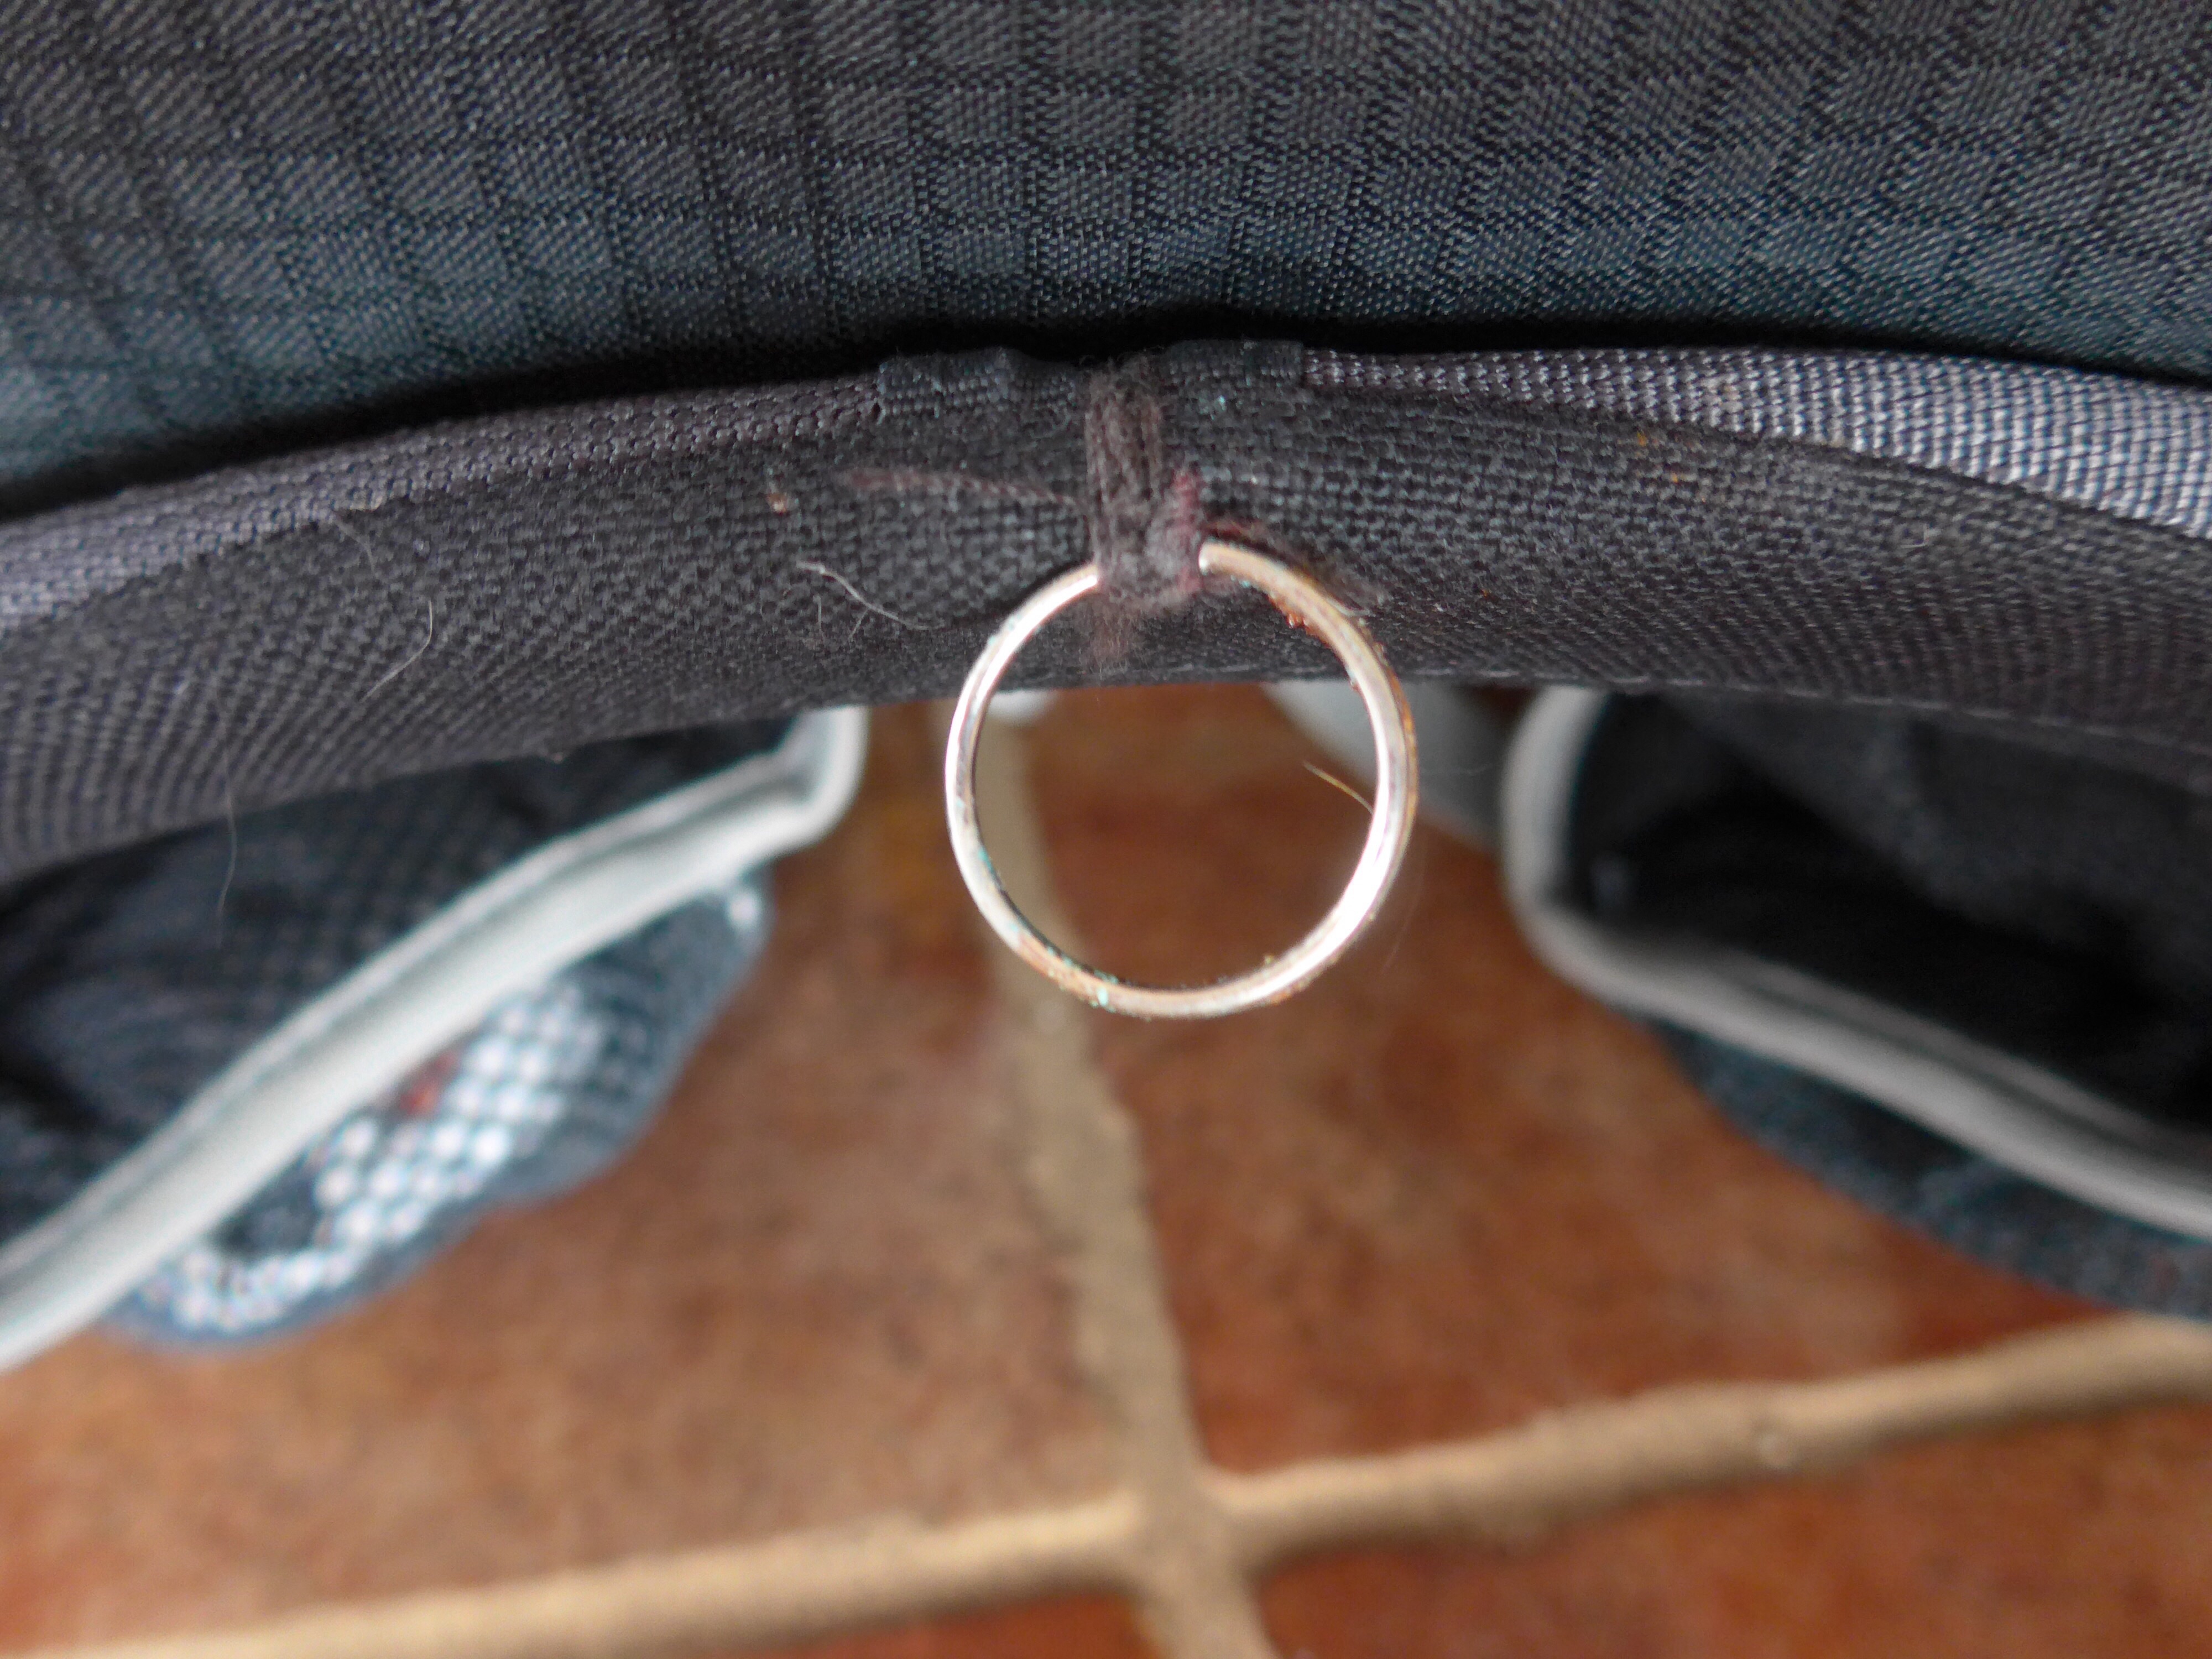
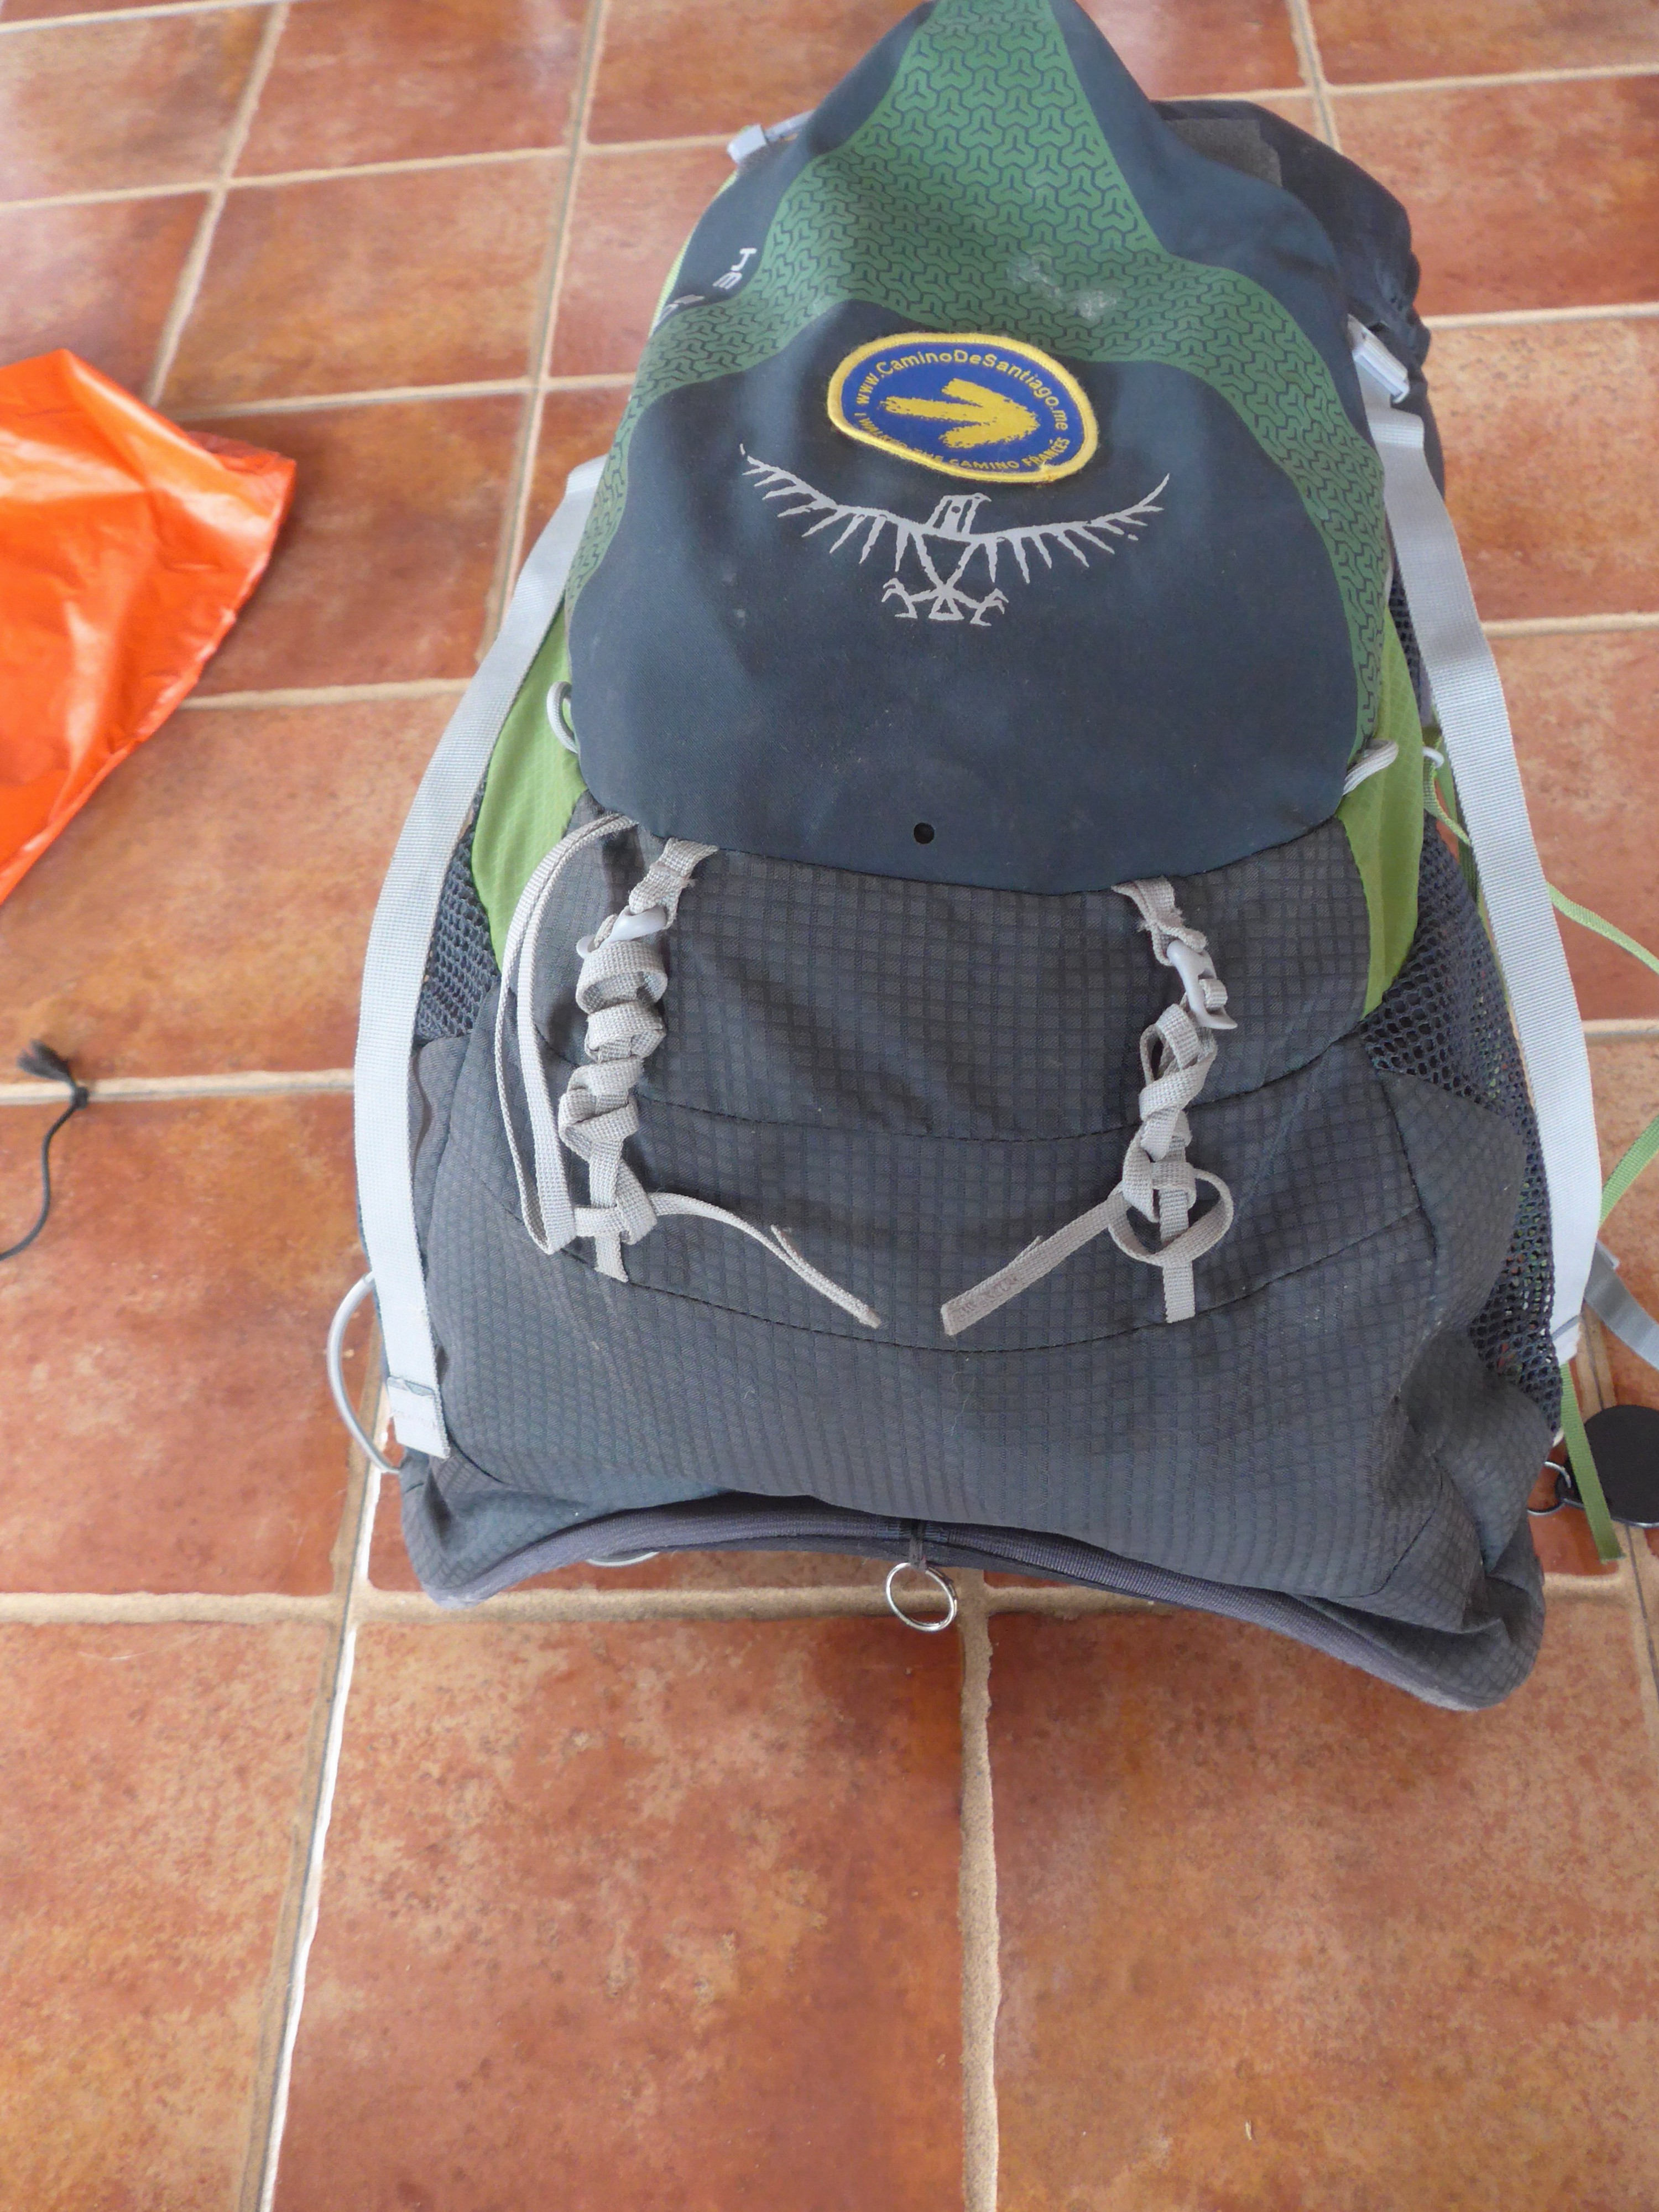
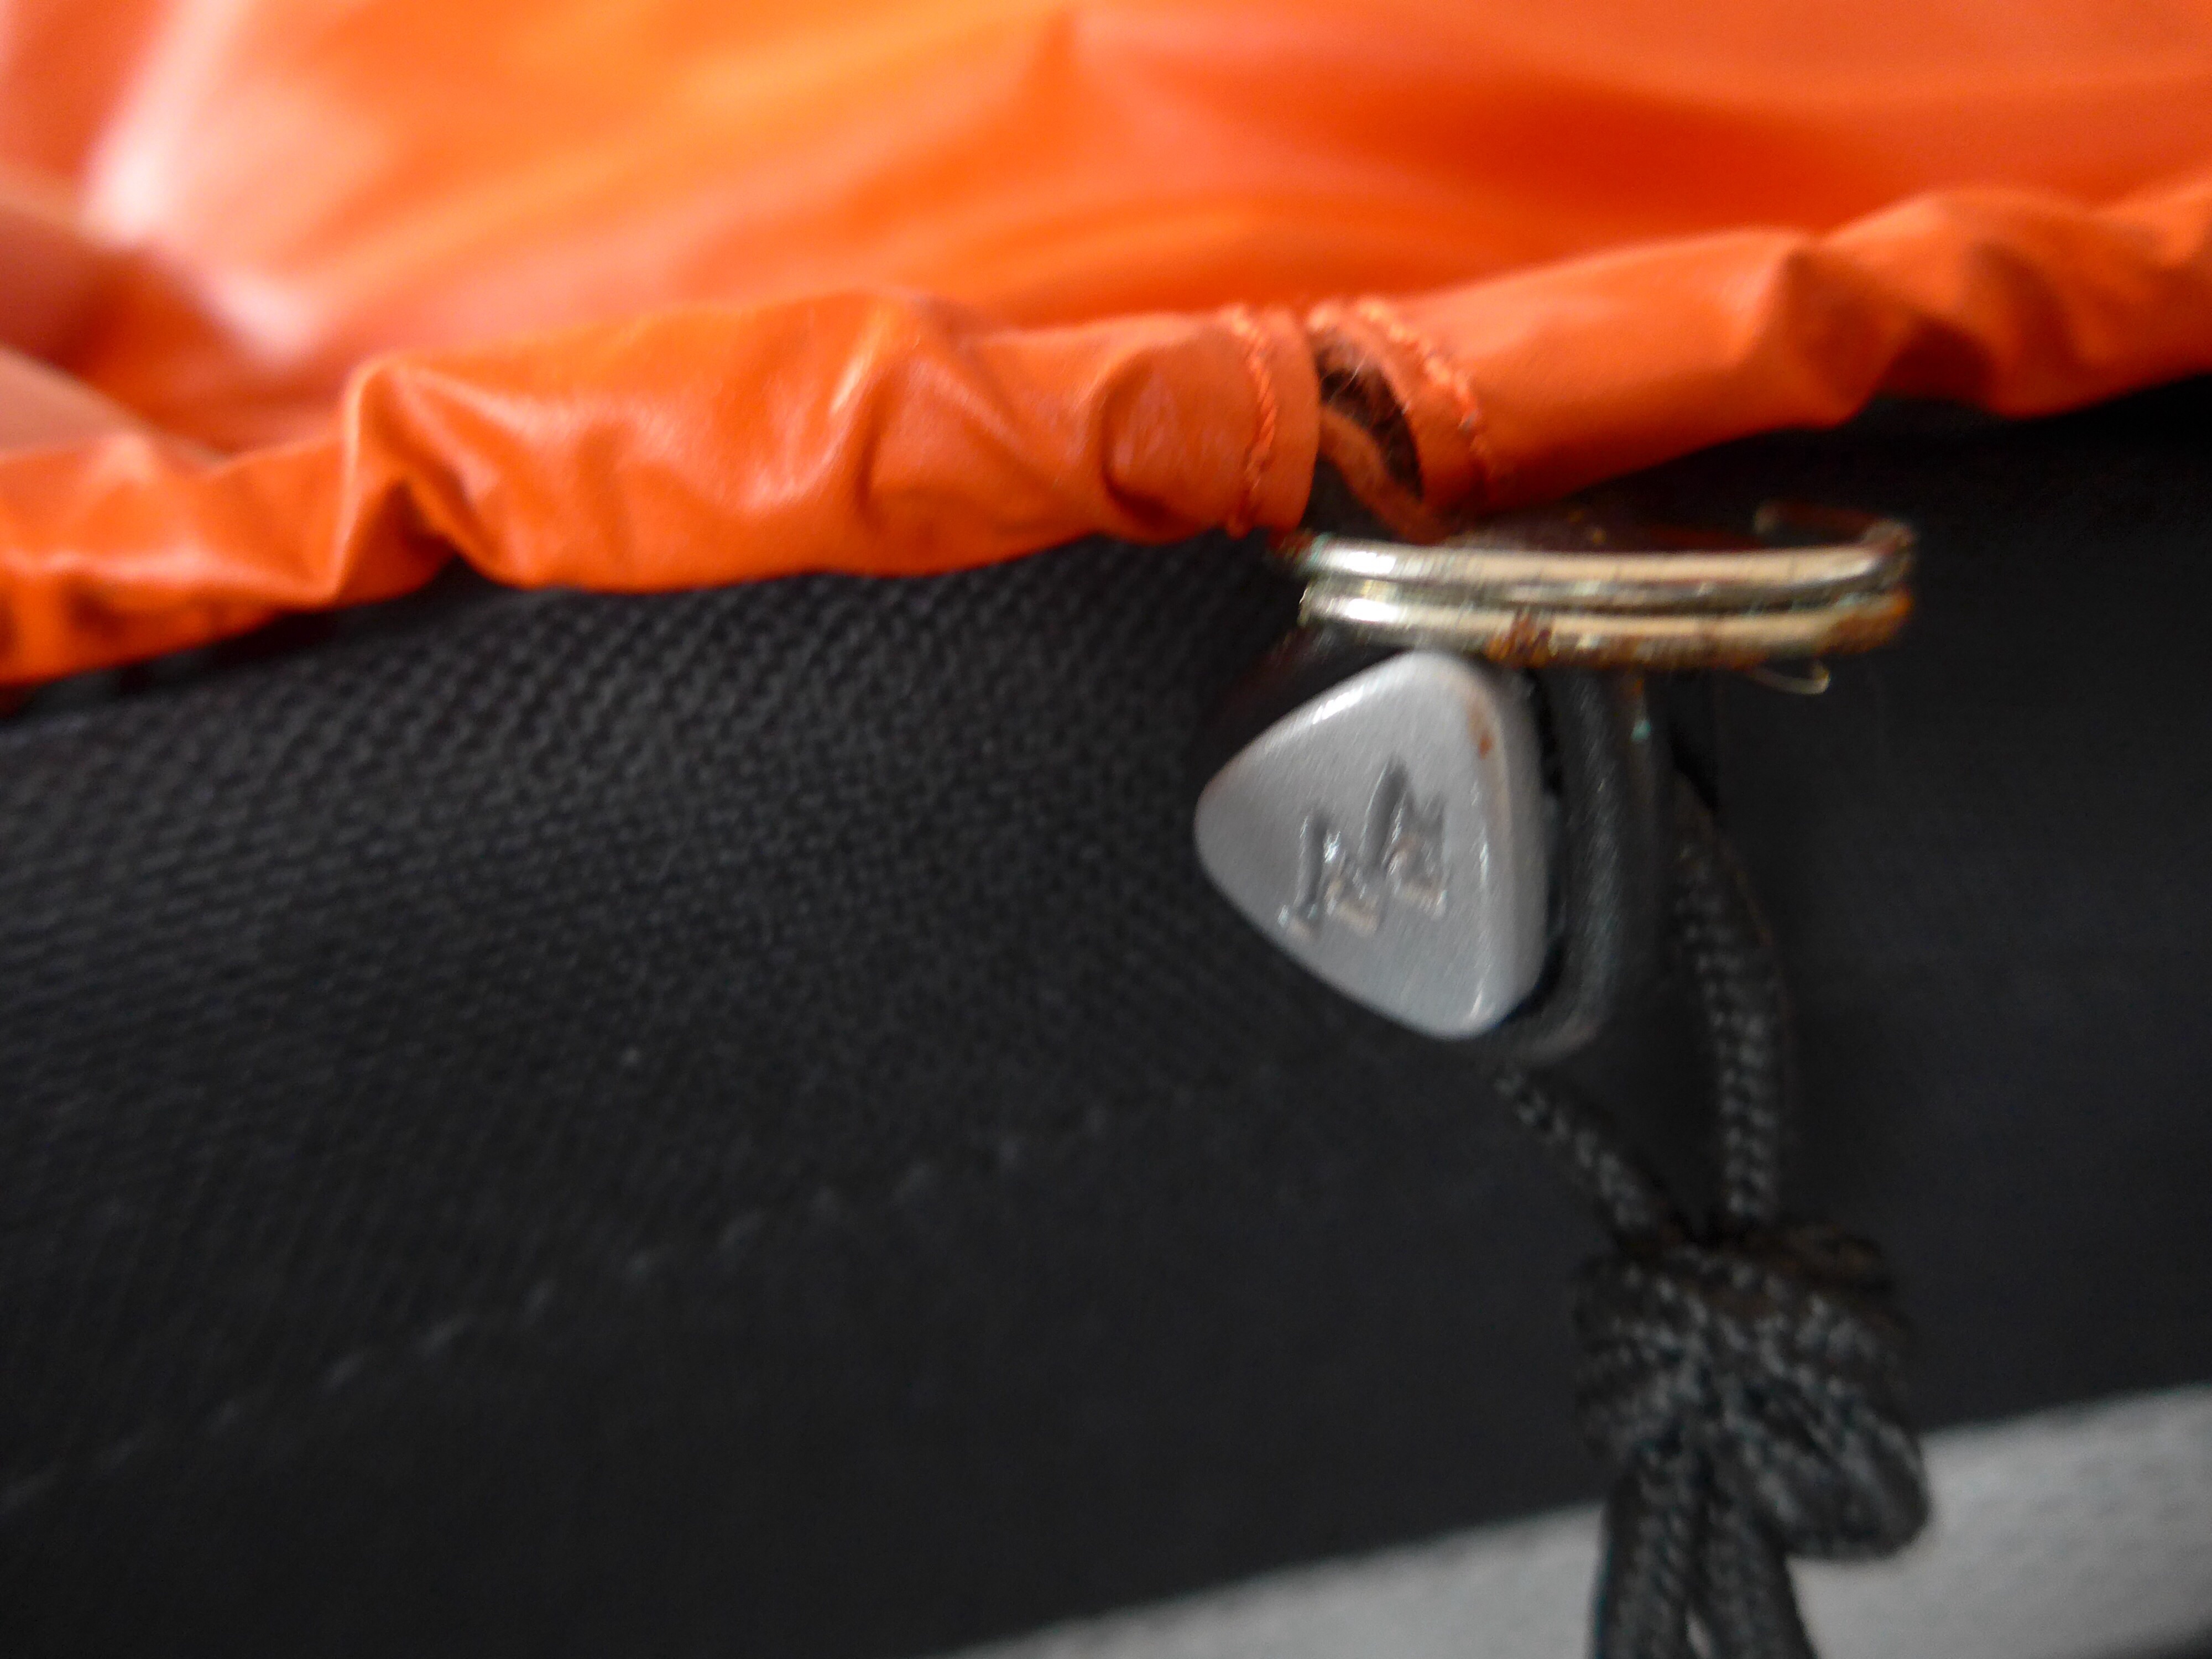
First I attached a split ring (key ring) to the bottom of the frame of my pack.
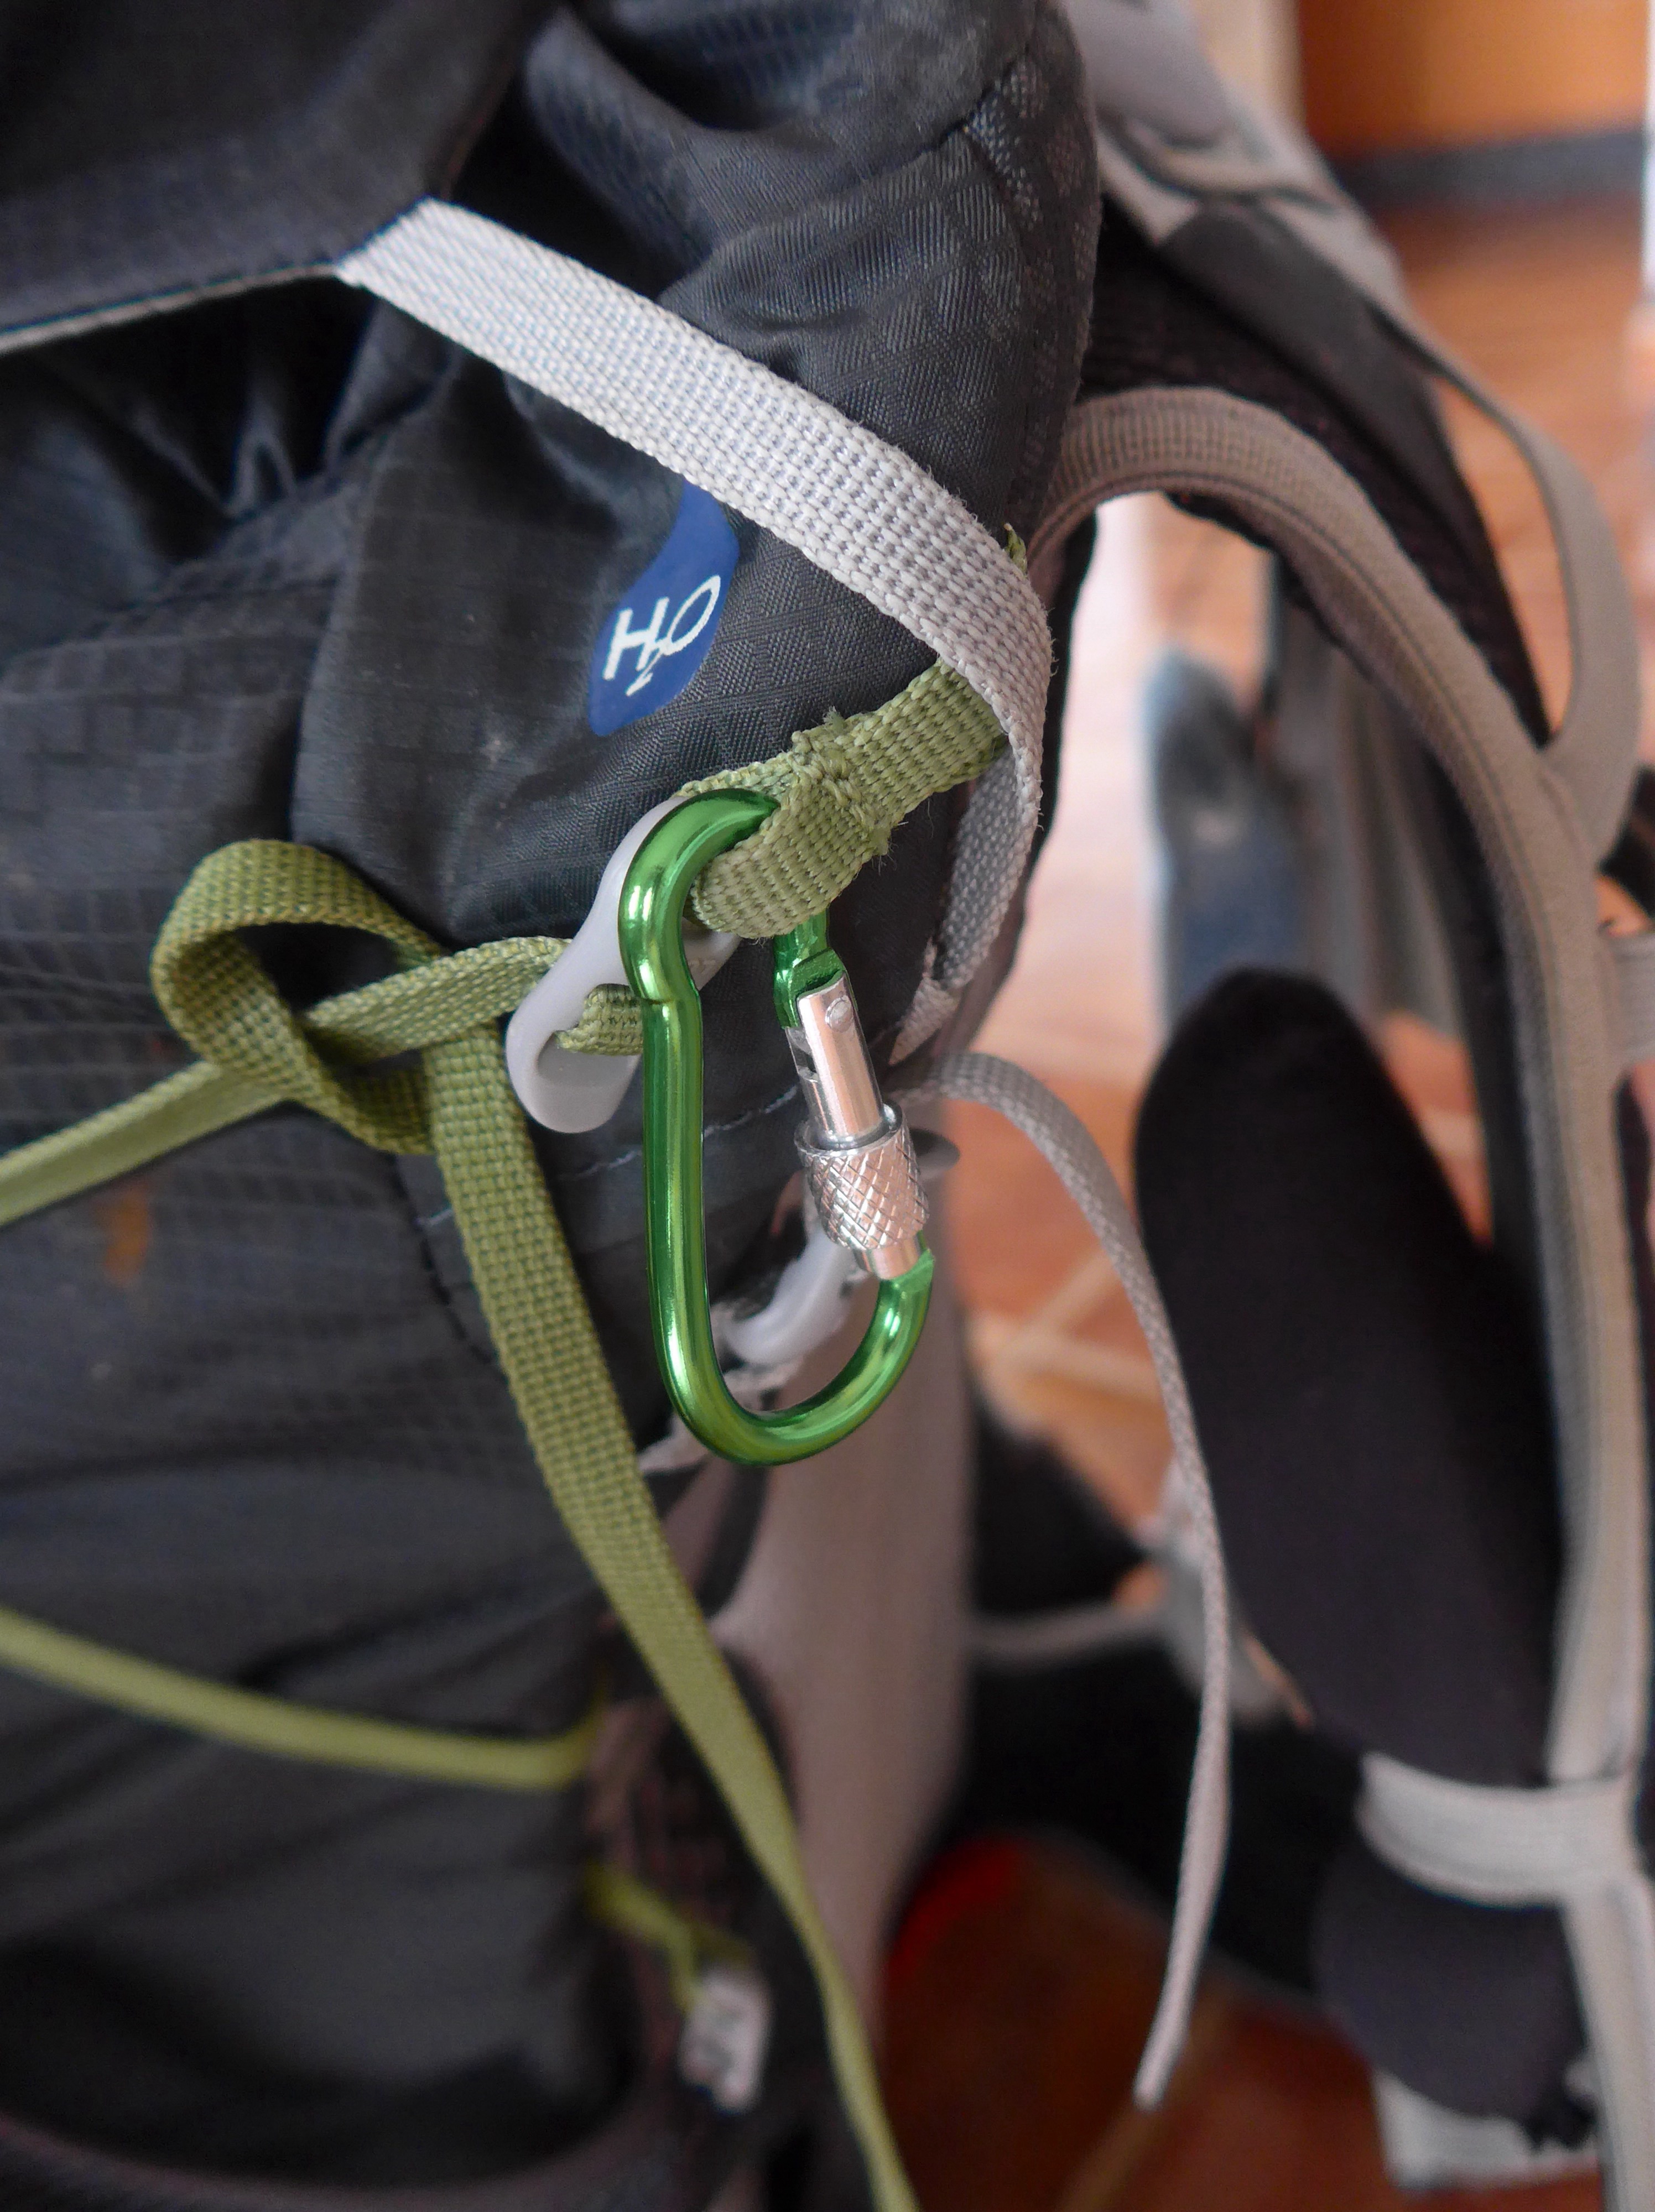
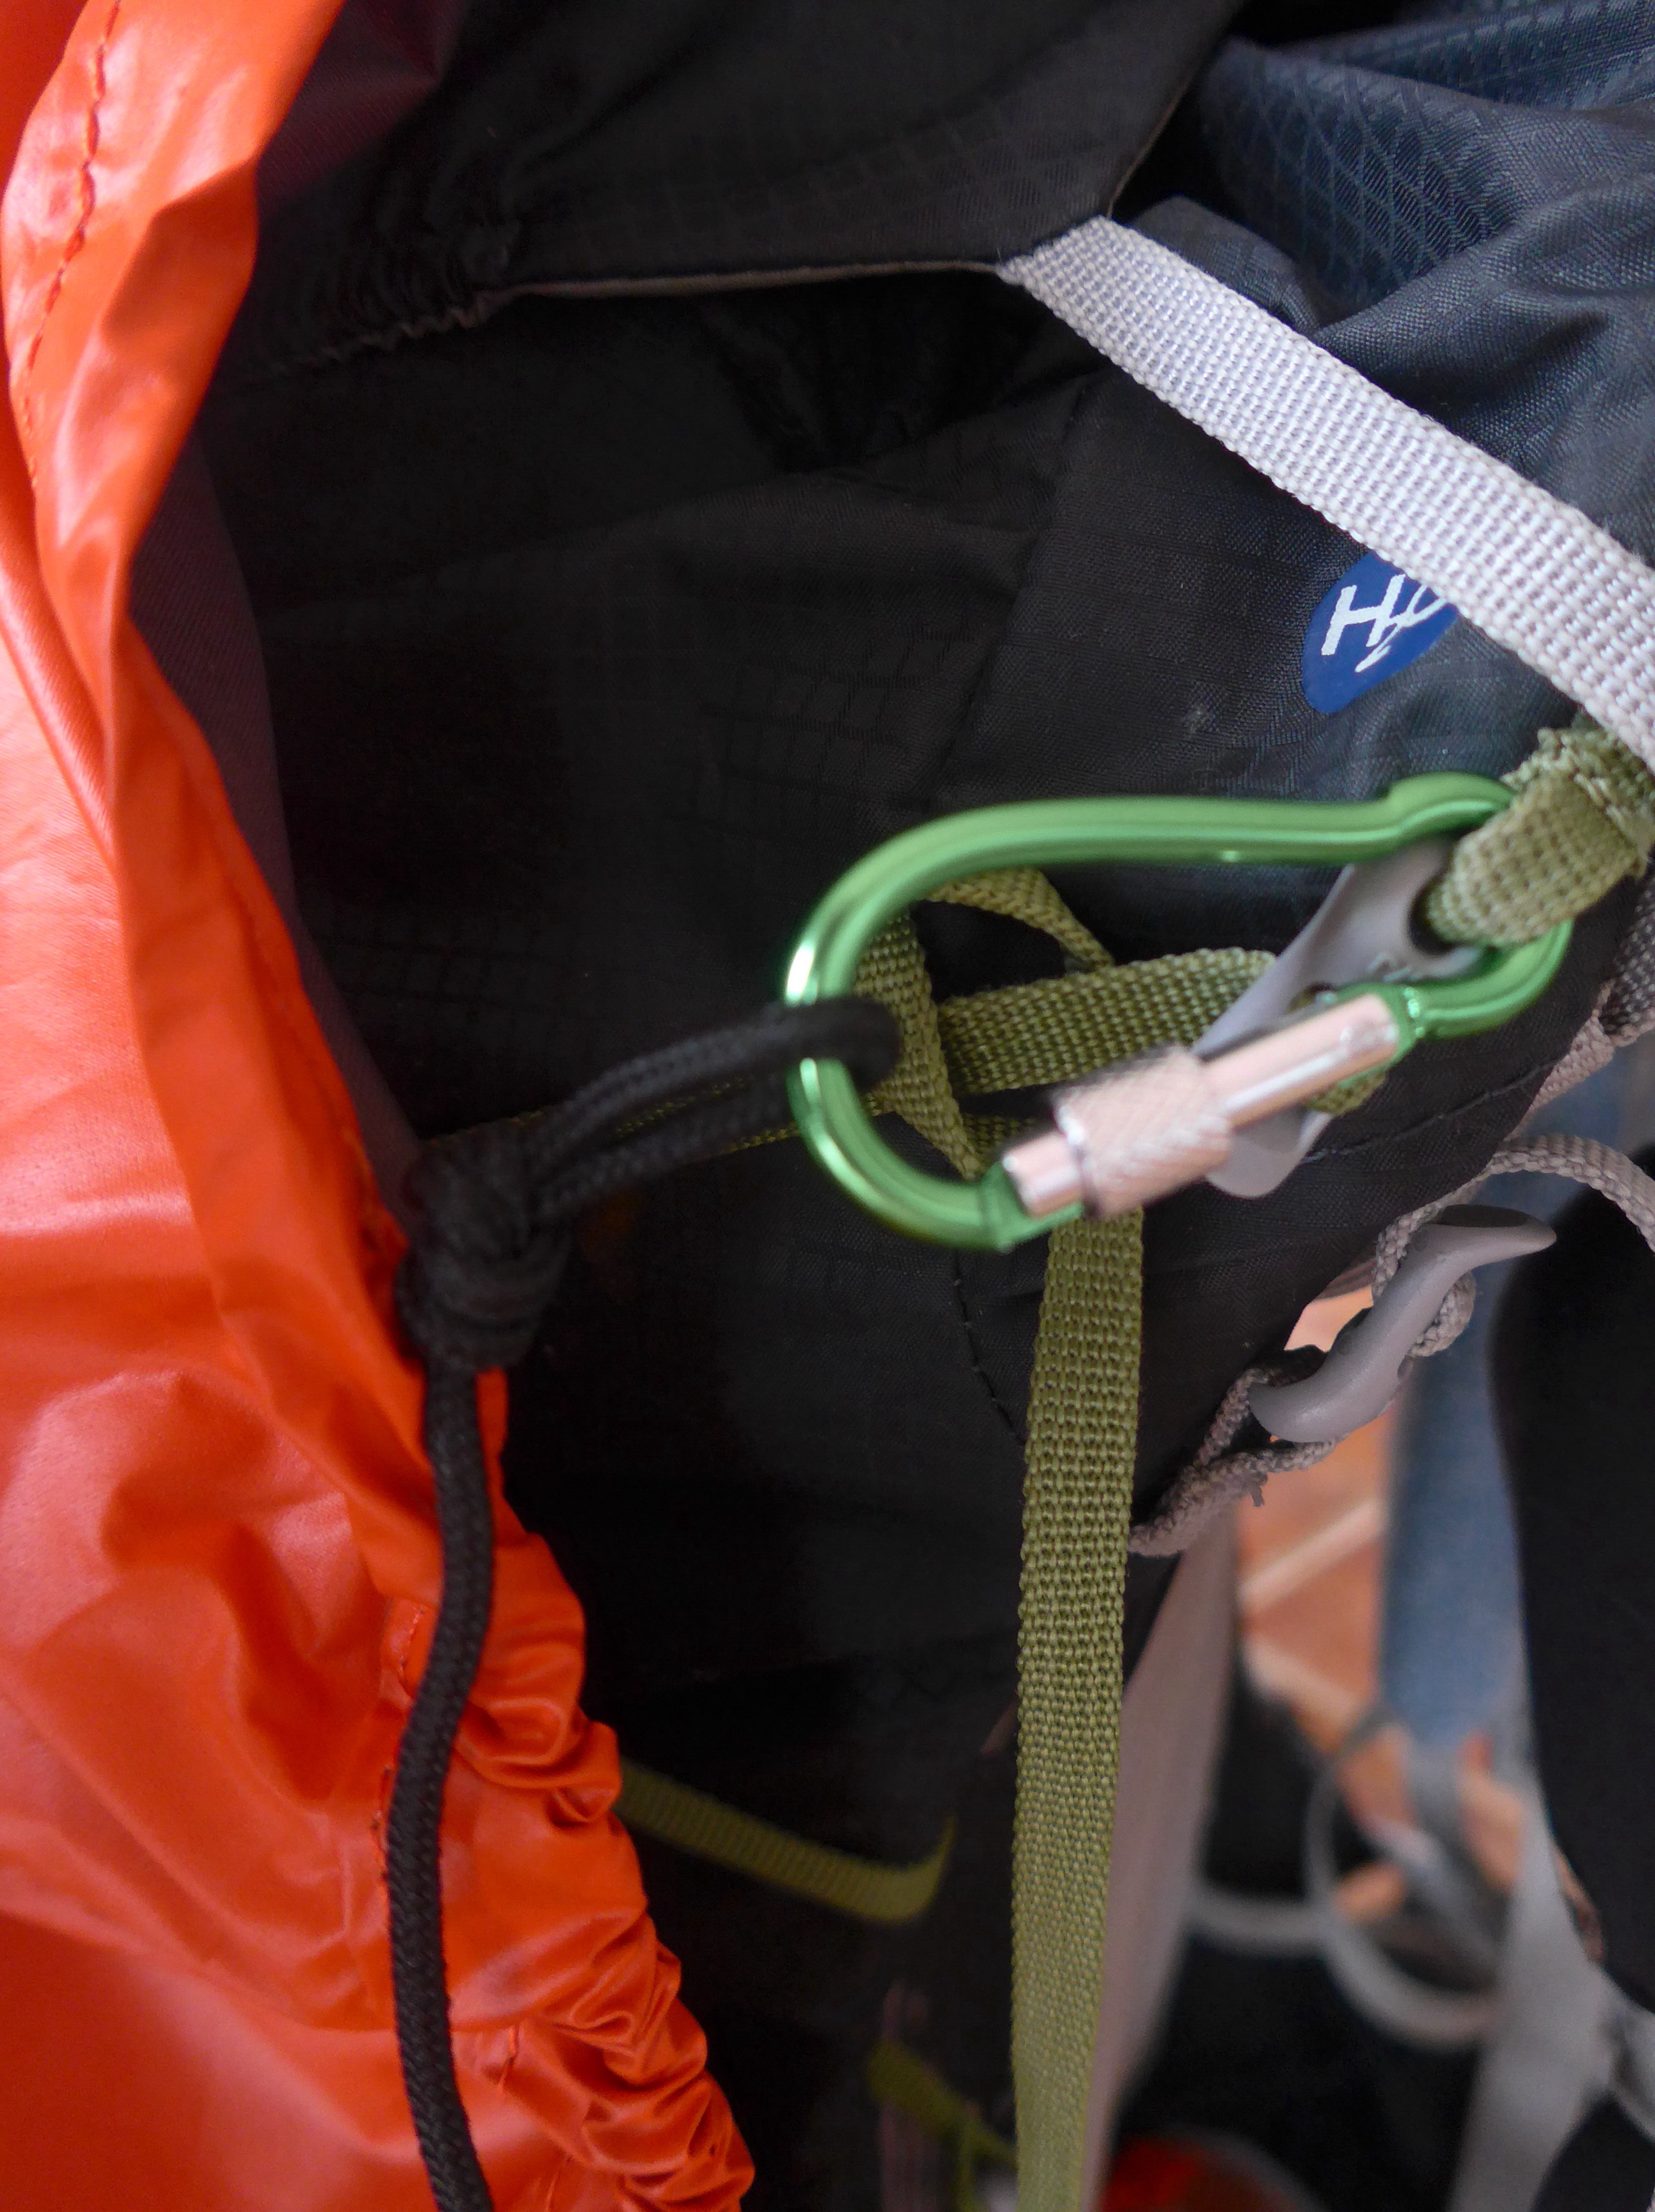
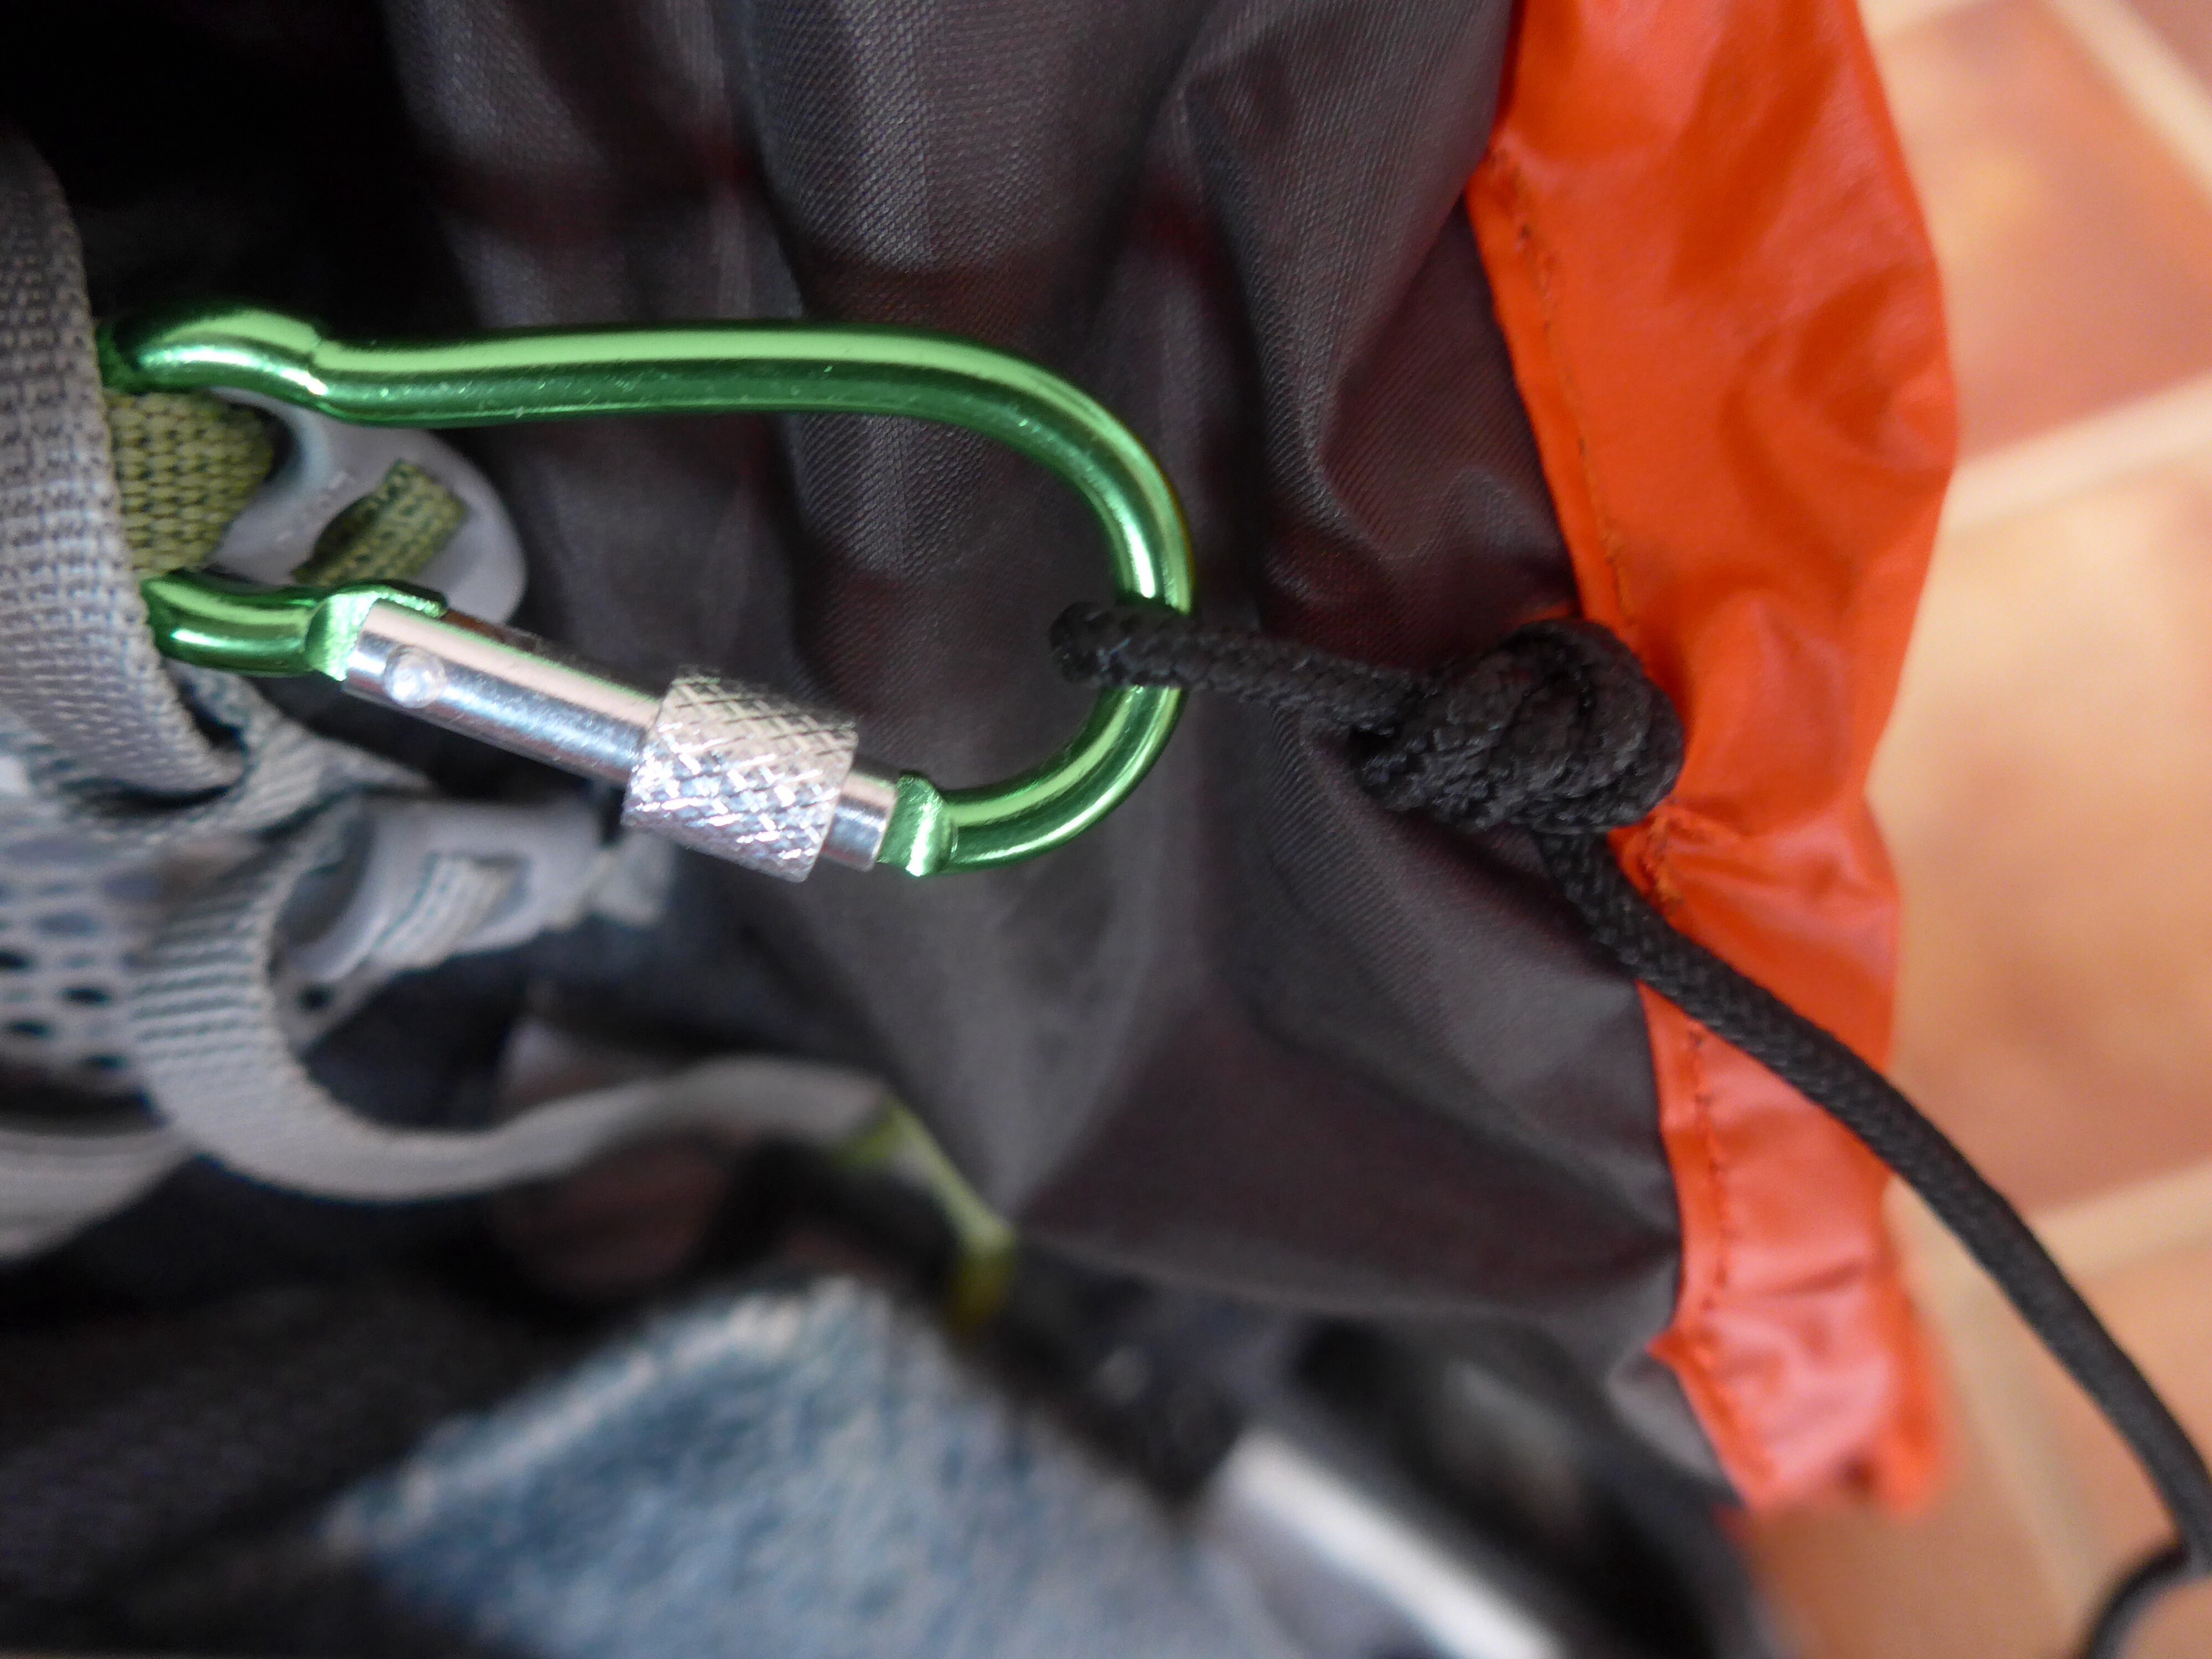
I then attached carabiners to the compression straps at each side of the top of my pack
Next stage was to thread the draw string toggle of the cover through the split ring to anchor it at the bottom of the pack.
I then snipped through the drawstring hem at the opposite (top) end of the cover and cut through the drawstring cord.

Next, I snipped a few stitches (but NOT through the fabric) of the drawstring hem at the point where the carabiners were fixed. This allowed me to pull the cord through the snipped stitches and tie a loop in the cord that would fix to the carabiners.
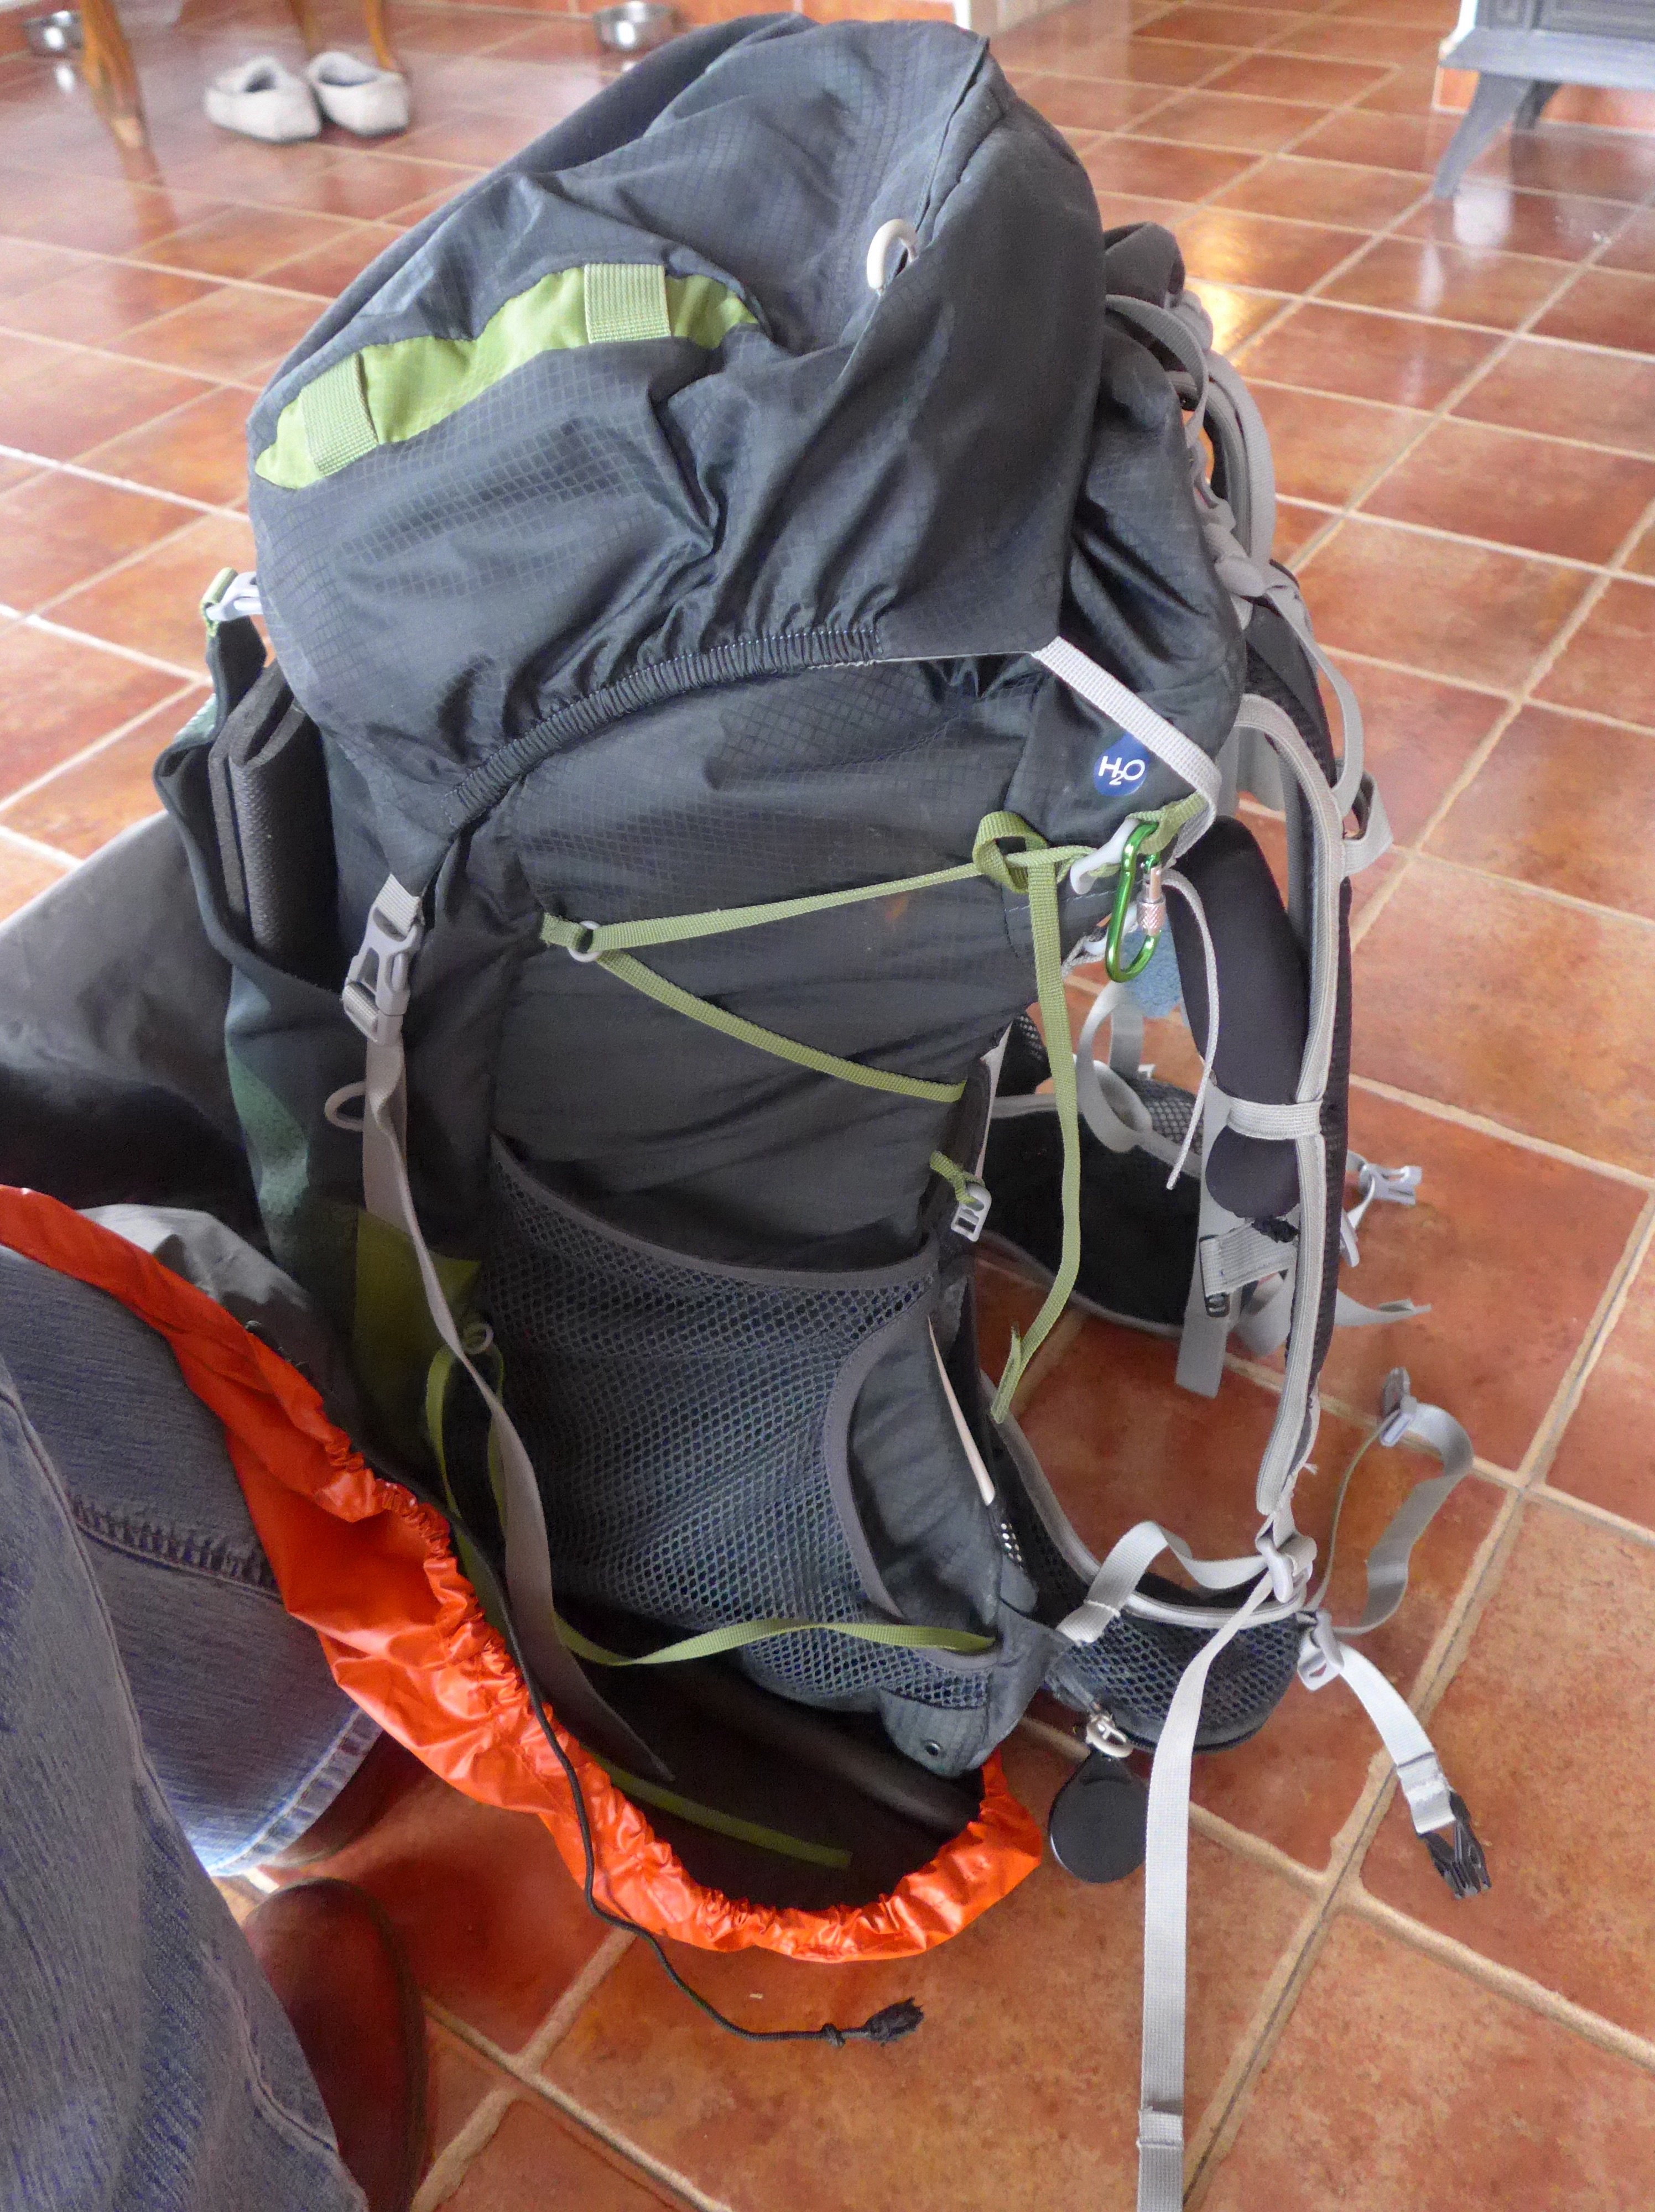
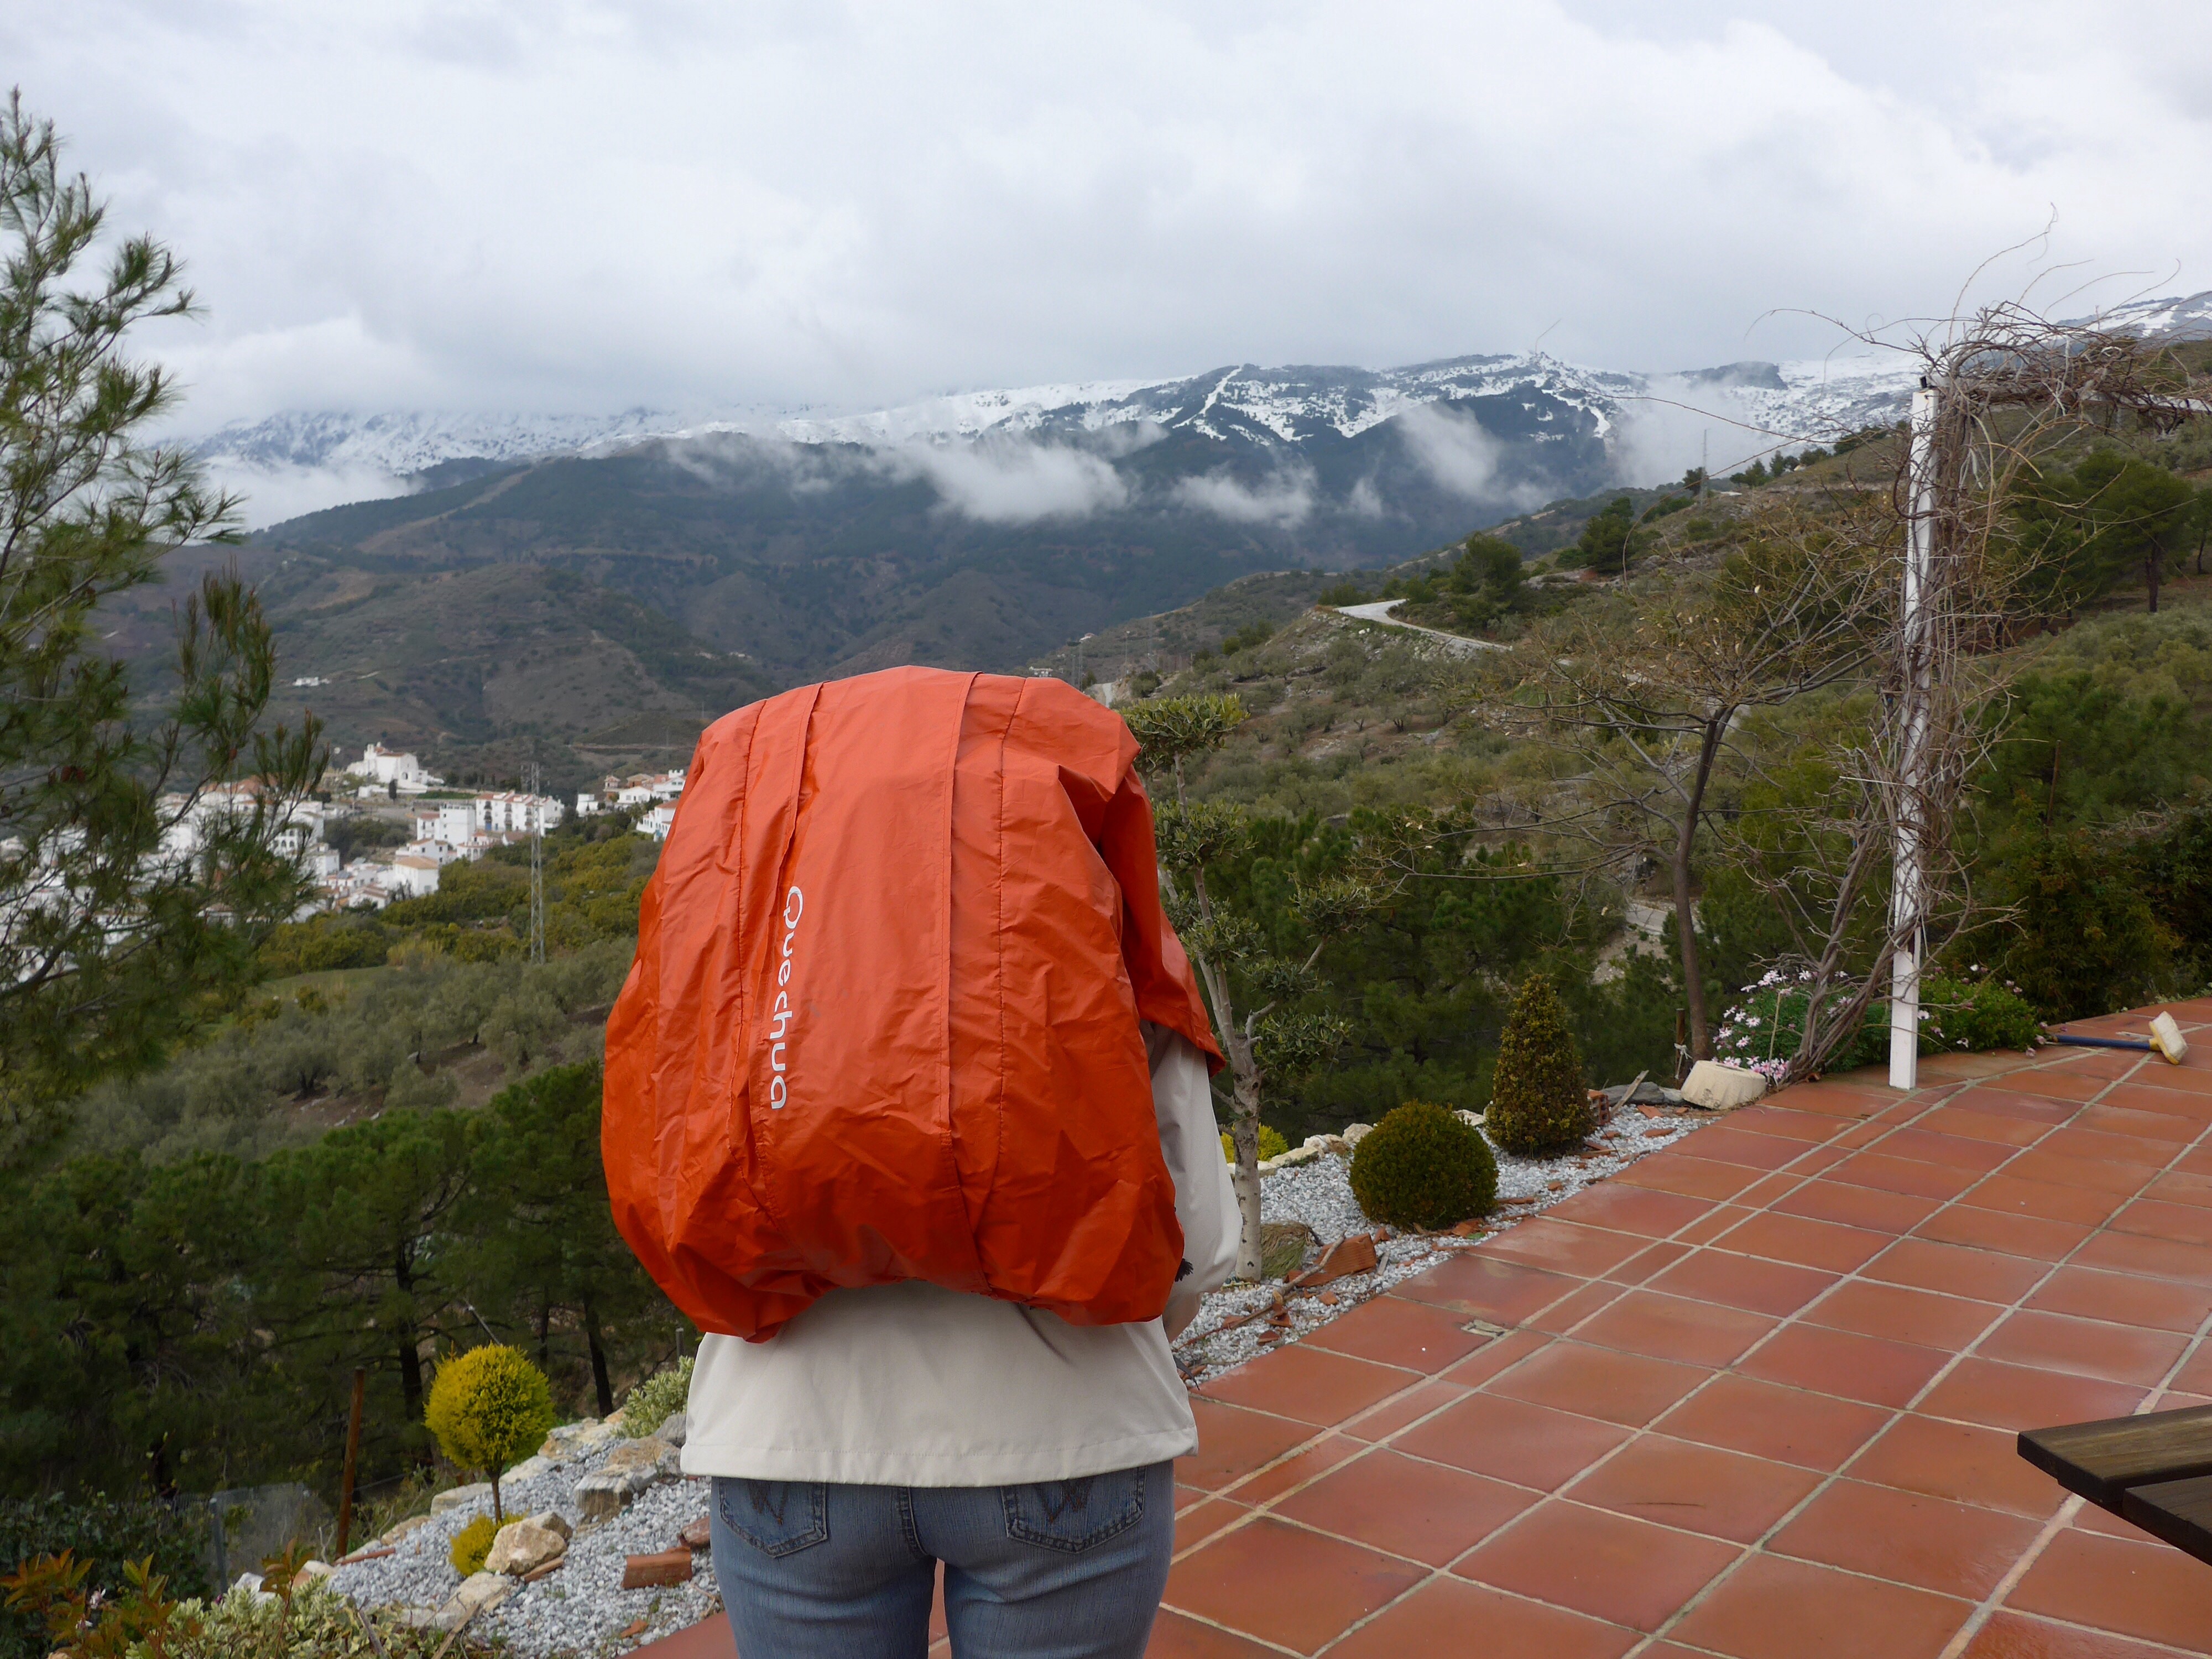
Now the cover was firmly secured to the pack at three points.
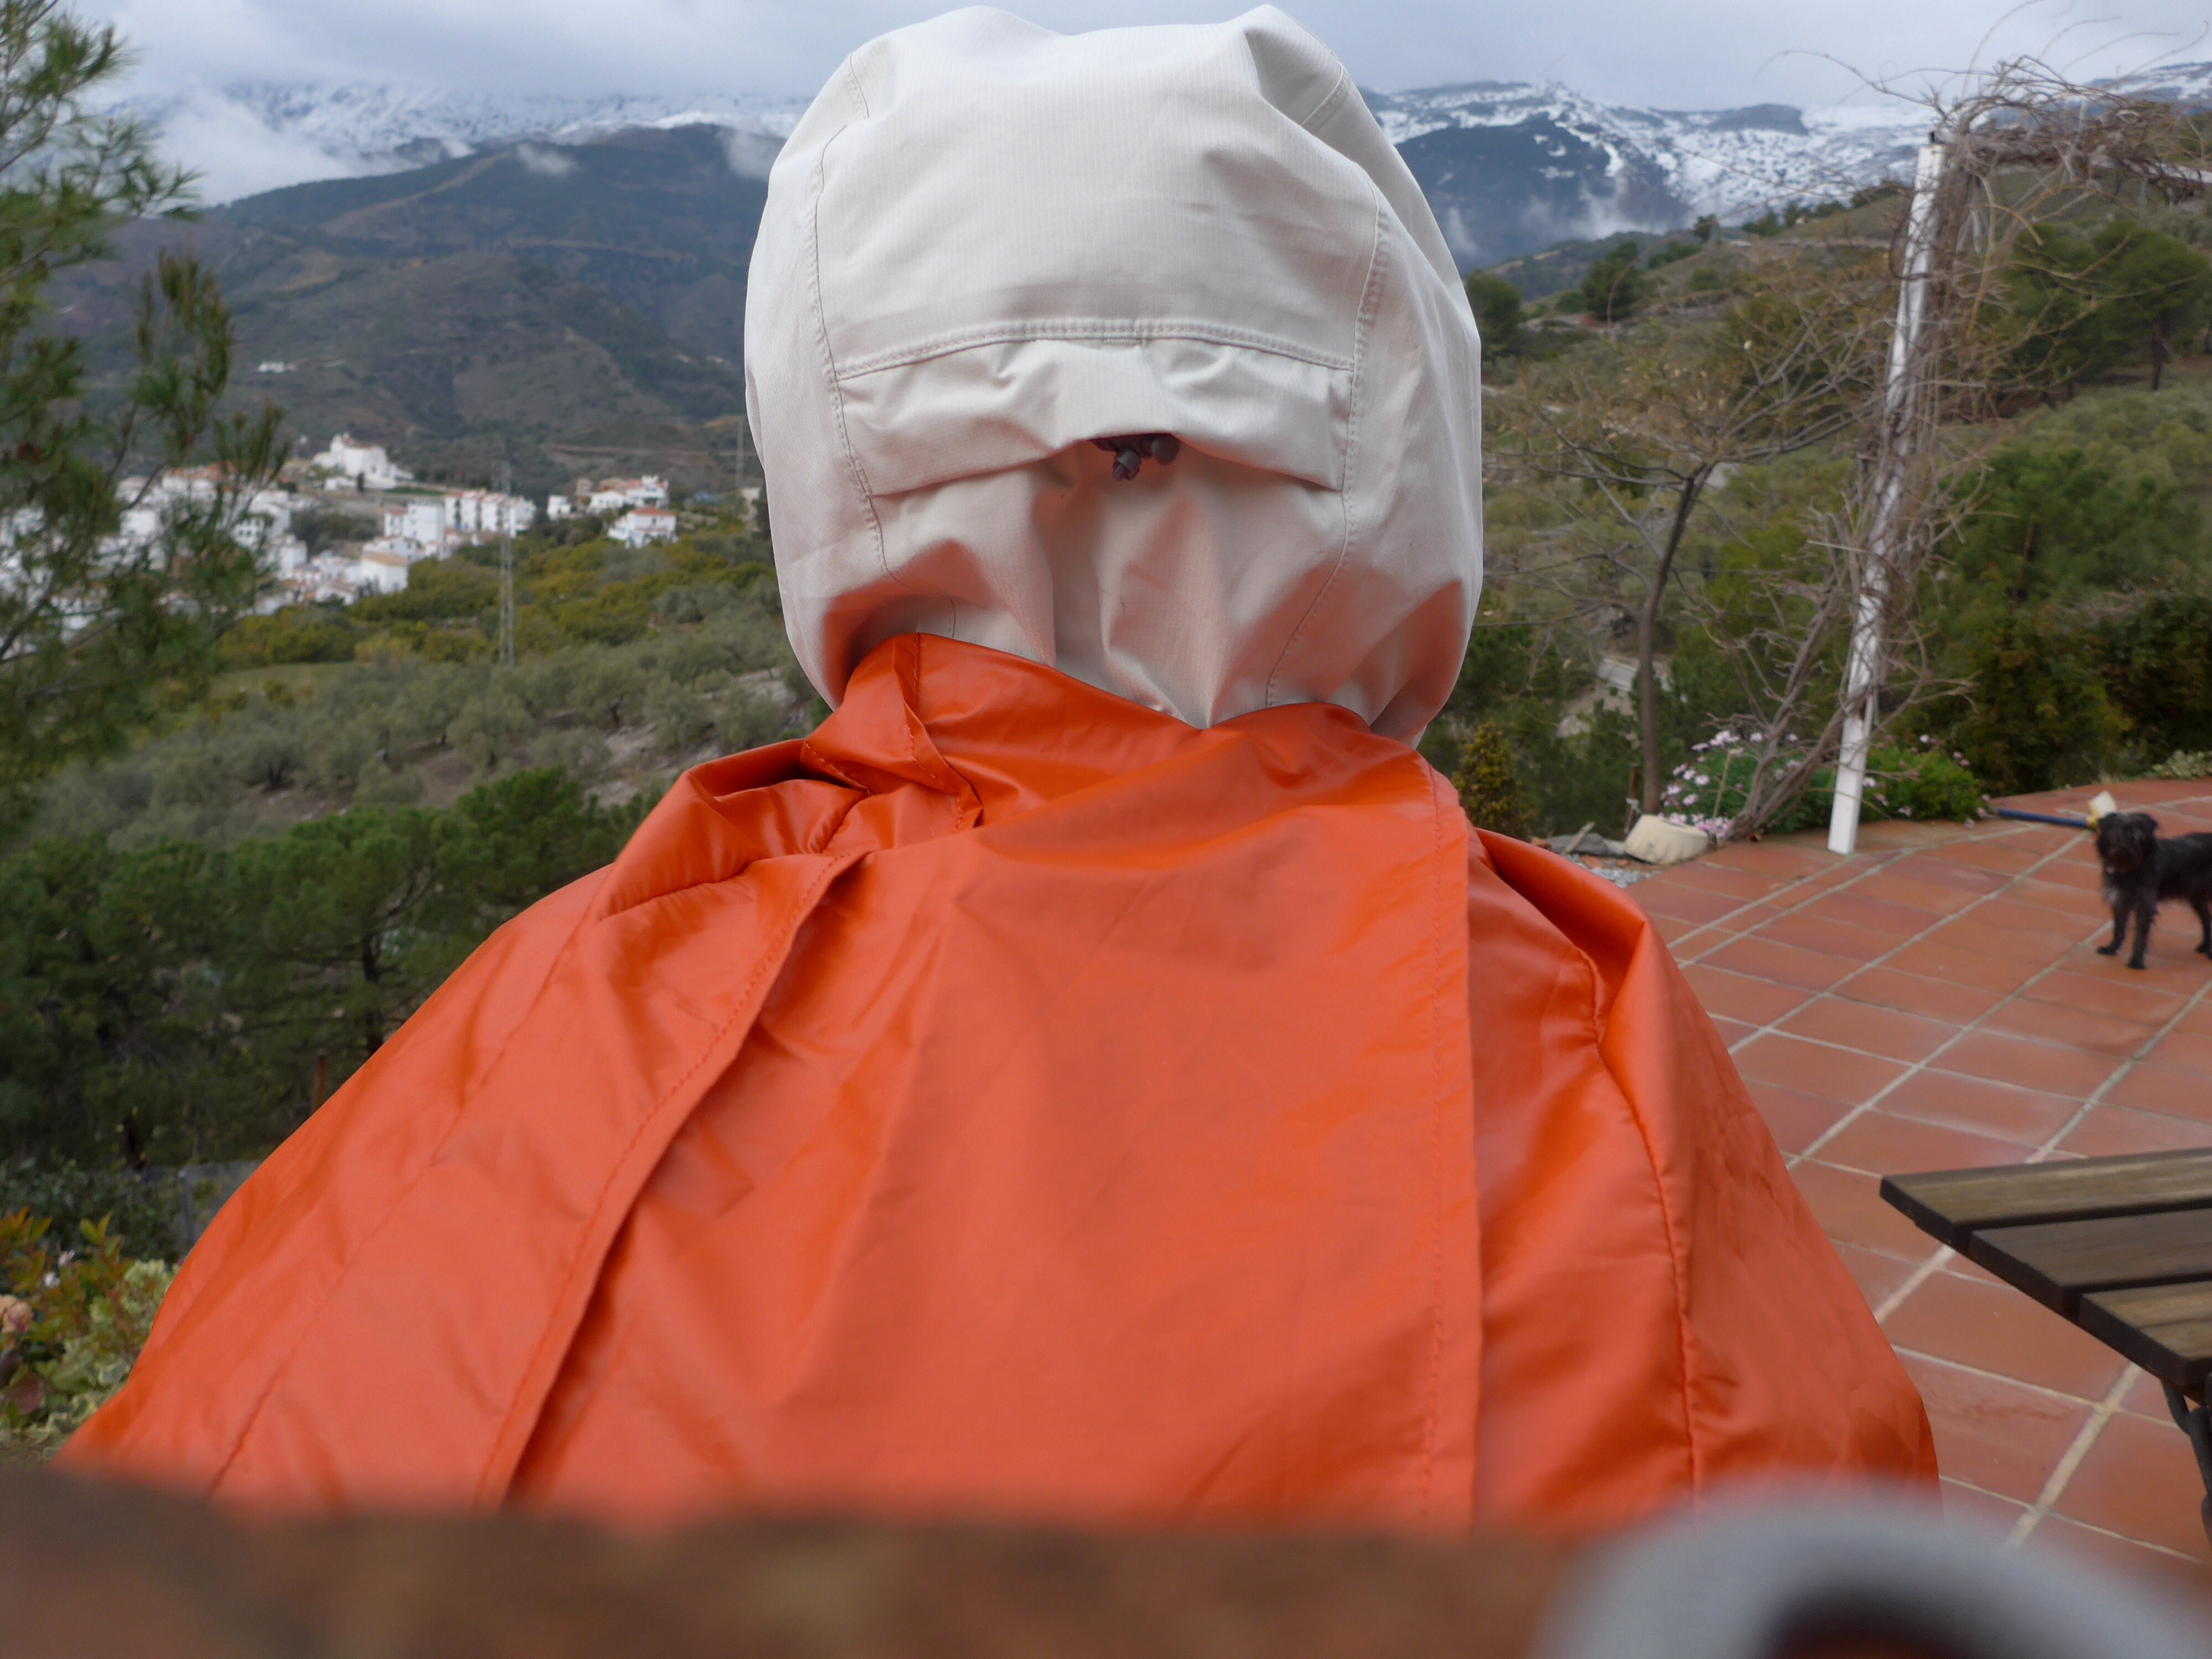
I cut through the excess fabric at the top of the cover to the point where it needed to divide around my neck. You will likely need some assistance here to get the length of the cut correct. If it is too long then there is every chance that water will find it’s way between the cape and your jacket. If it is too short it may prove to be uncomfortable.
I thought about reinforcing the fabric at the end of the cut by gluing some tape over it, but didn’t get around to it and it did not seem to come under undue pressure and rip.
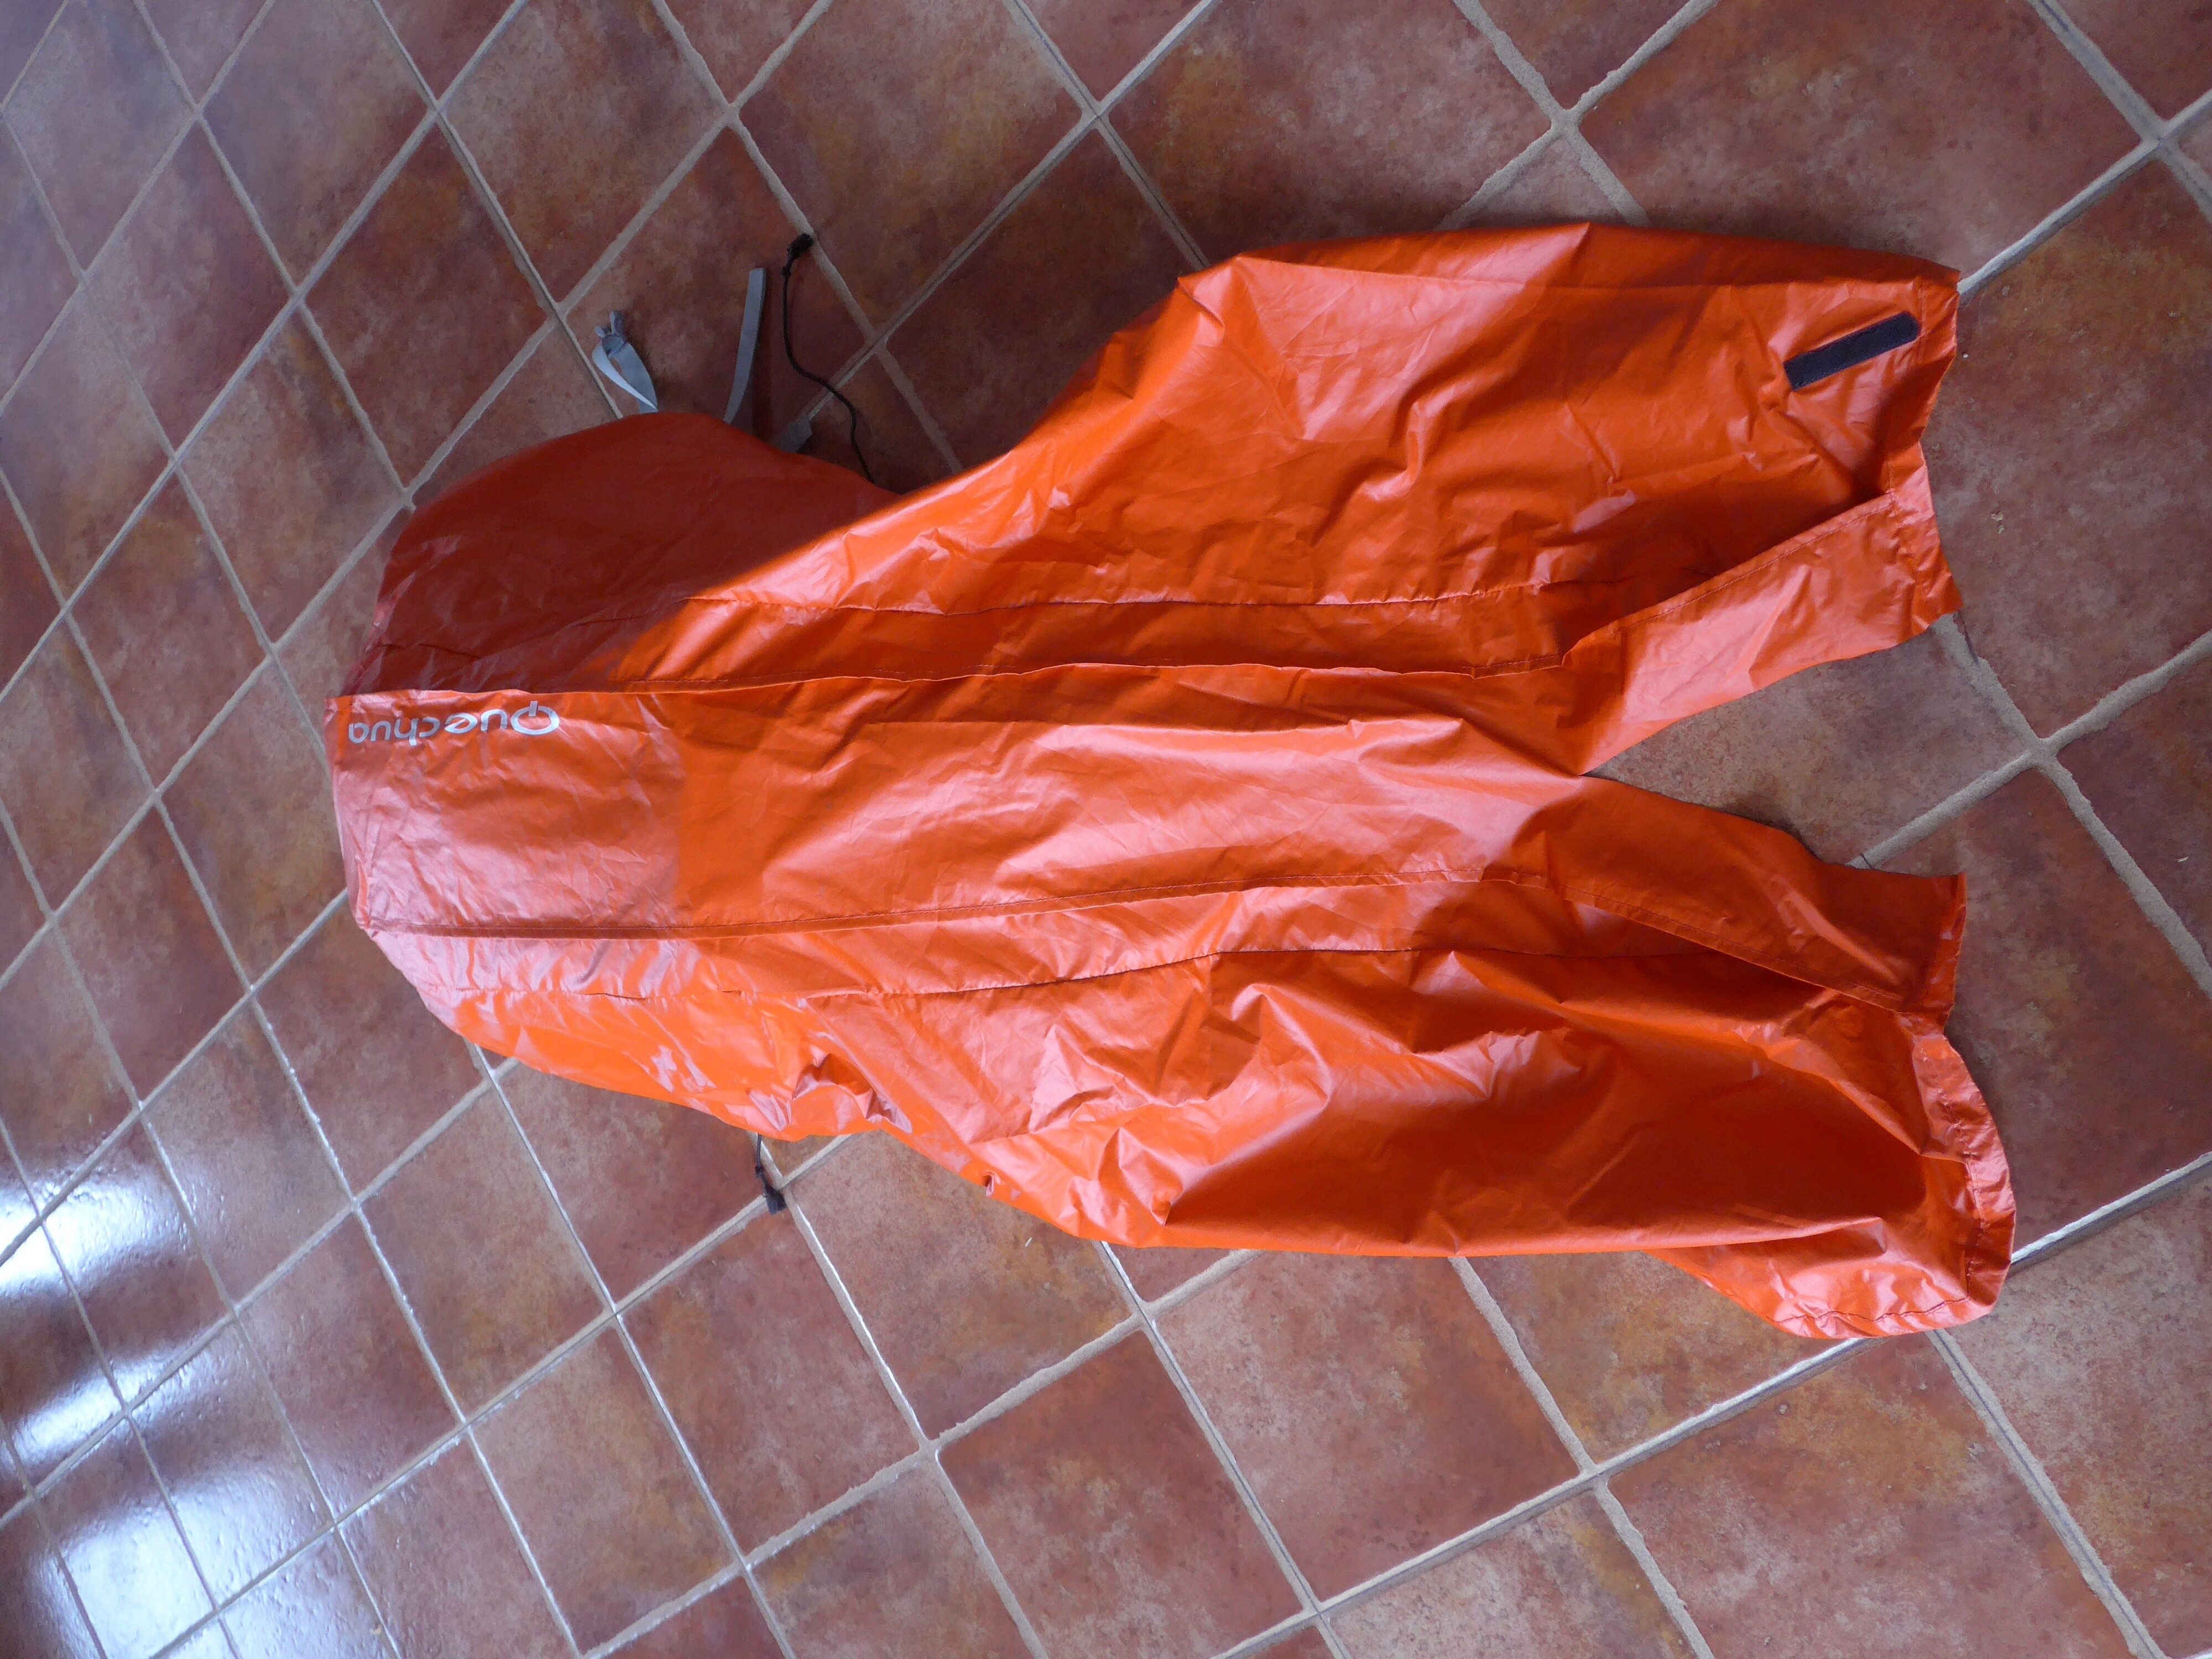
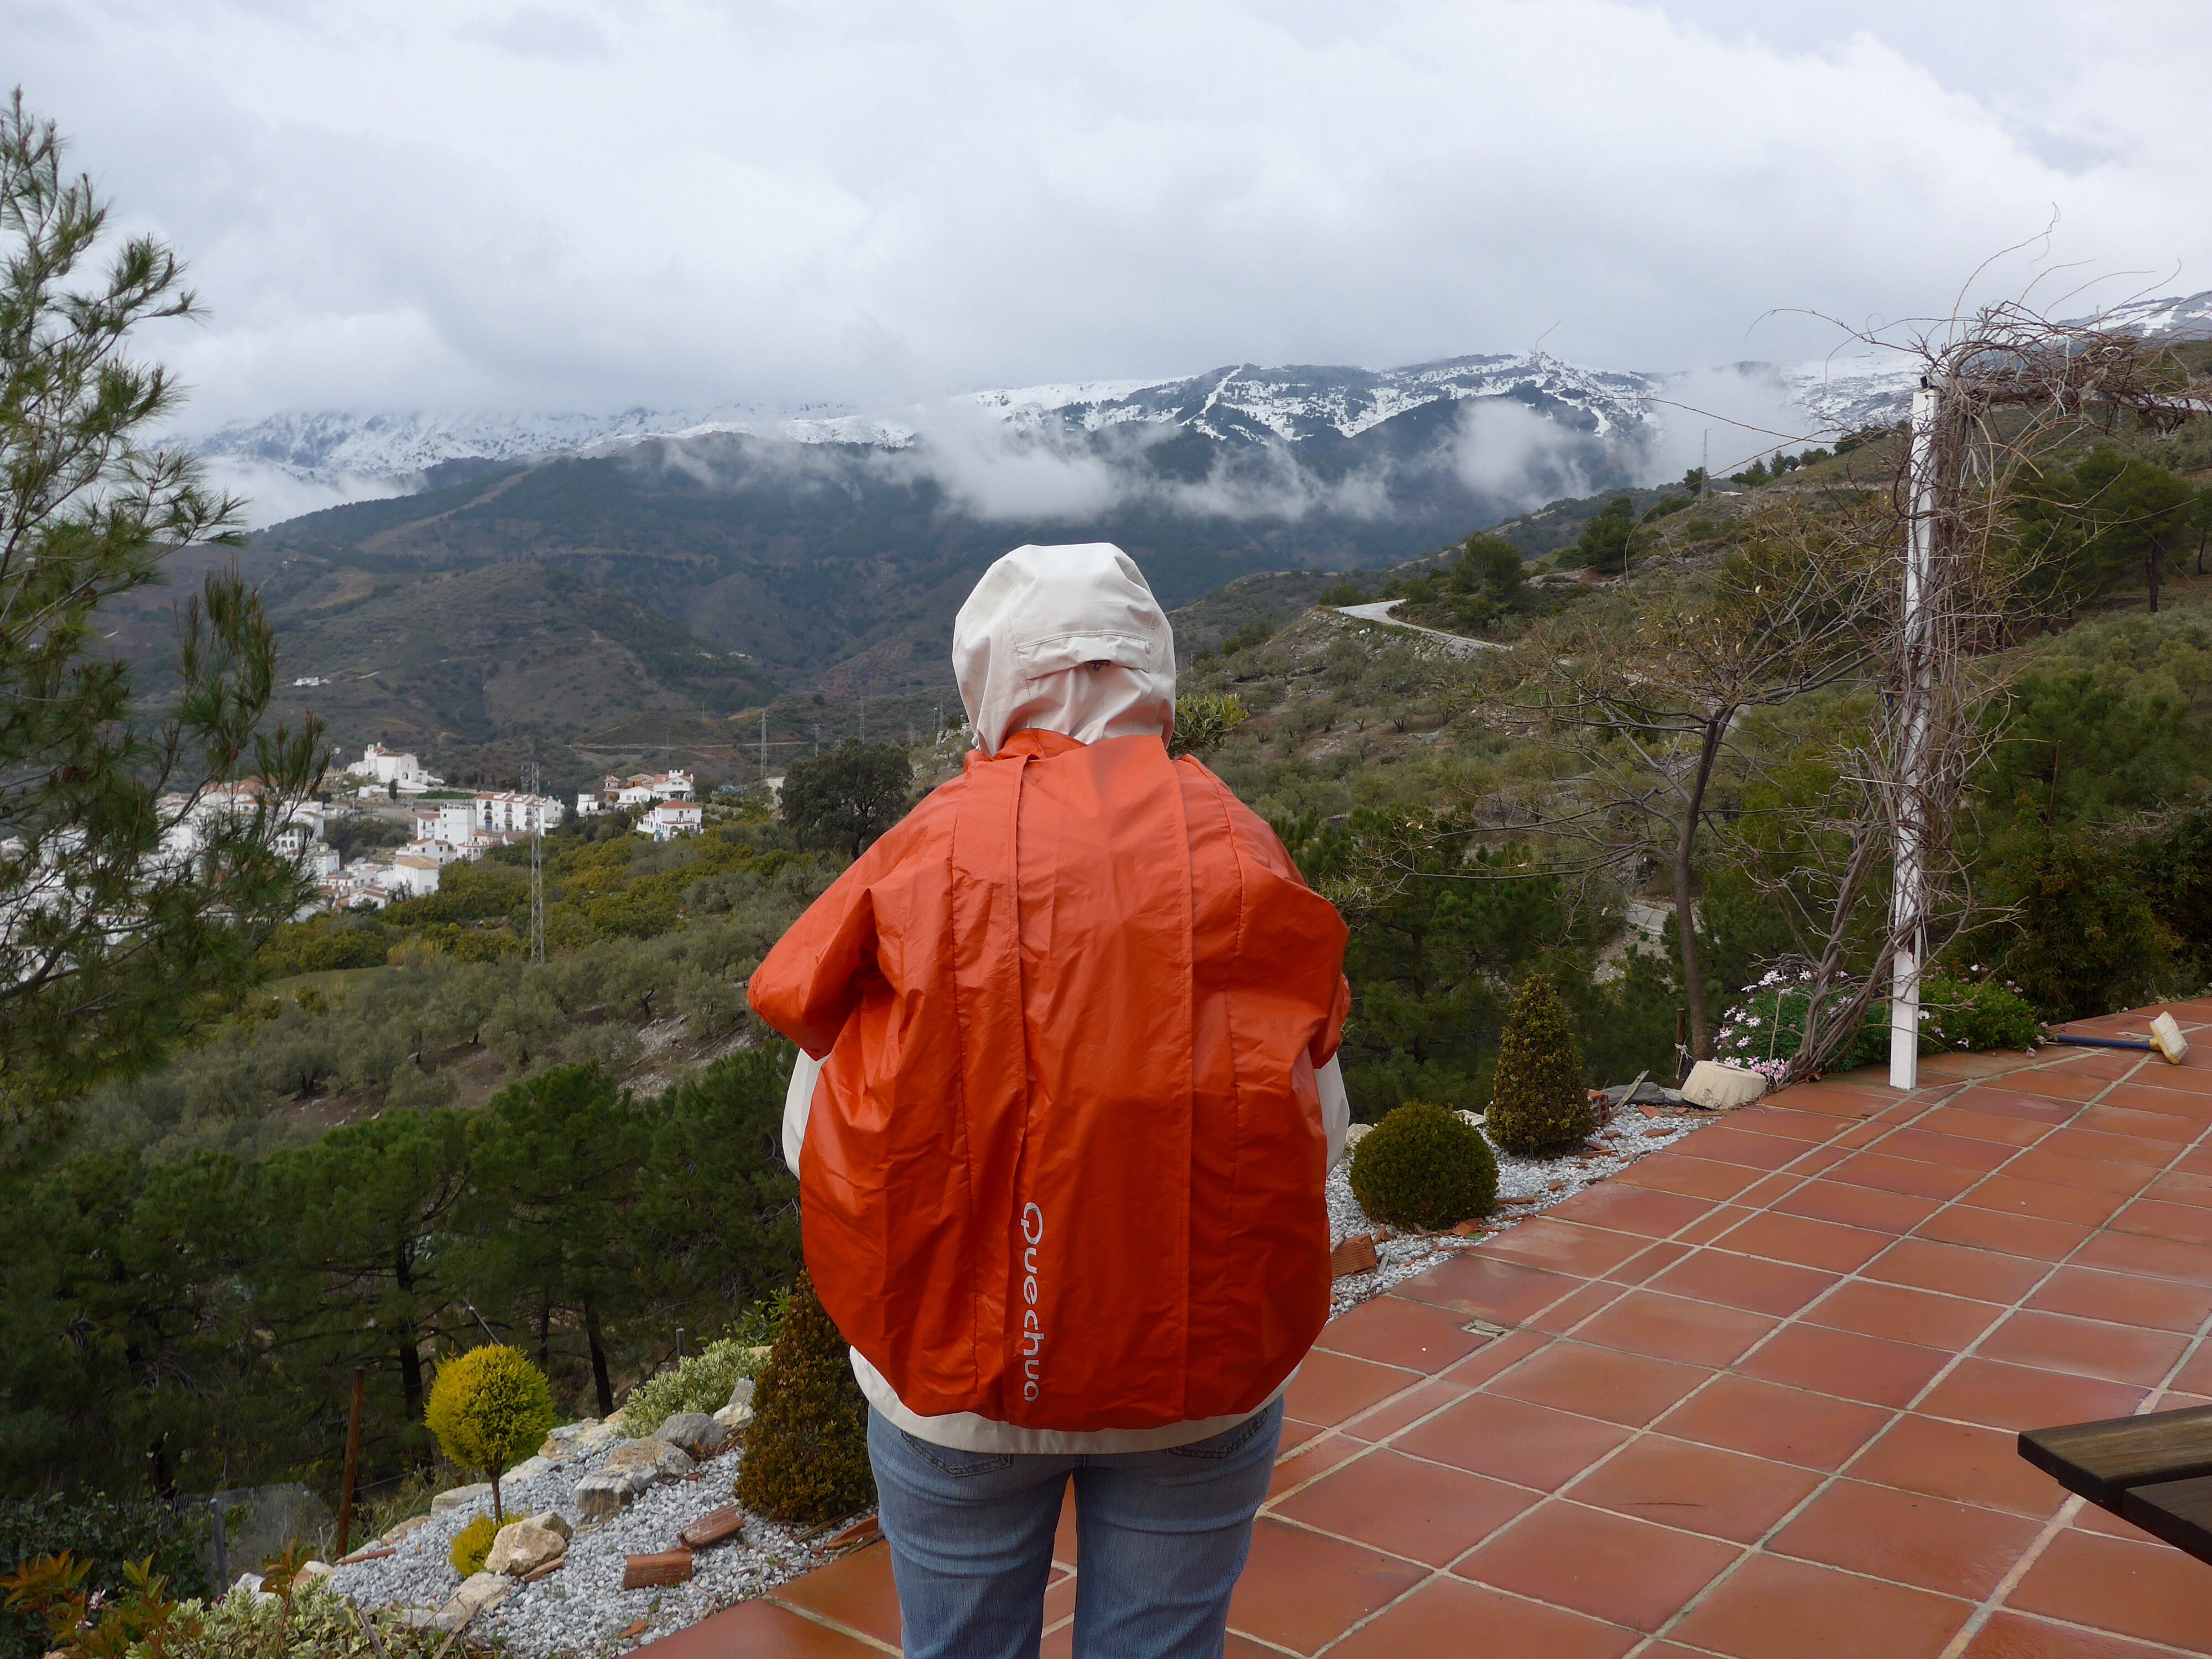
I then did no more than attach a couple of pieces of Velcro to the front flaps to fasten the cape under my chin. And that was it really. Very ‘Heath Robinson’ but very functional. No leaky jacket and no flapping poncho.
Note also, that my waist strap is fastened through small holes that I cut in my jacket pockets. So making another area where there is no friction between straps and jacket.
When it stopped raining and I wanted to undo my jacket but not remove my pack, I could just unfasten the Velcro on the cape and tuck the flaps under the pack straps. Once I had fitted the SDMSC to my pack half way through my Camino Portuguese last year it rained for some part of every day, and it wasn’t necessary to remove the cape from the pack – it remained in place and I used the shoulder flaps if necessary and tucked them out of the way when they weren’t required.
It was an easy and inexpensive experiment for me. The pack cover cost only a few euros and the SDMSC was an incredible success.
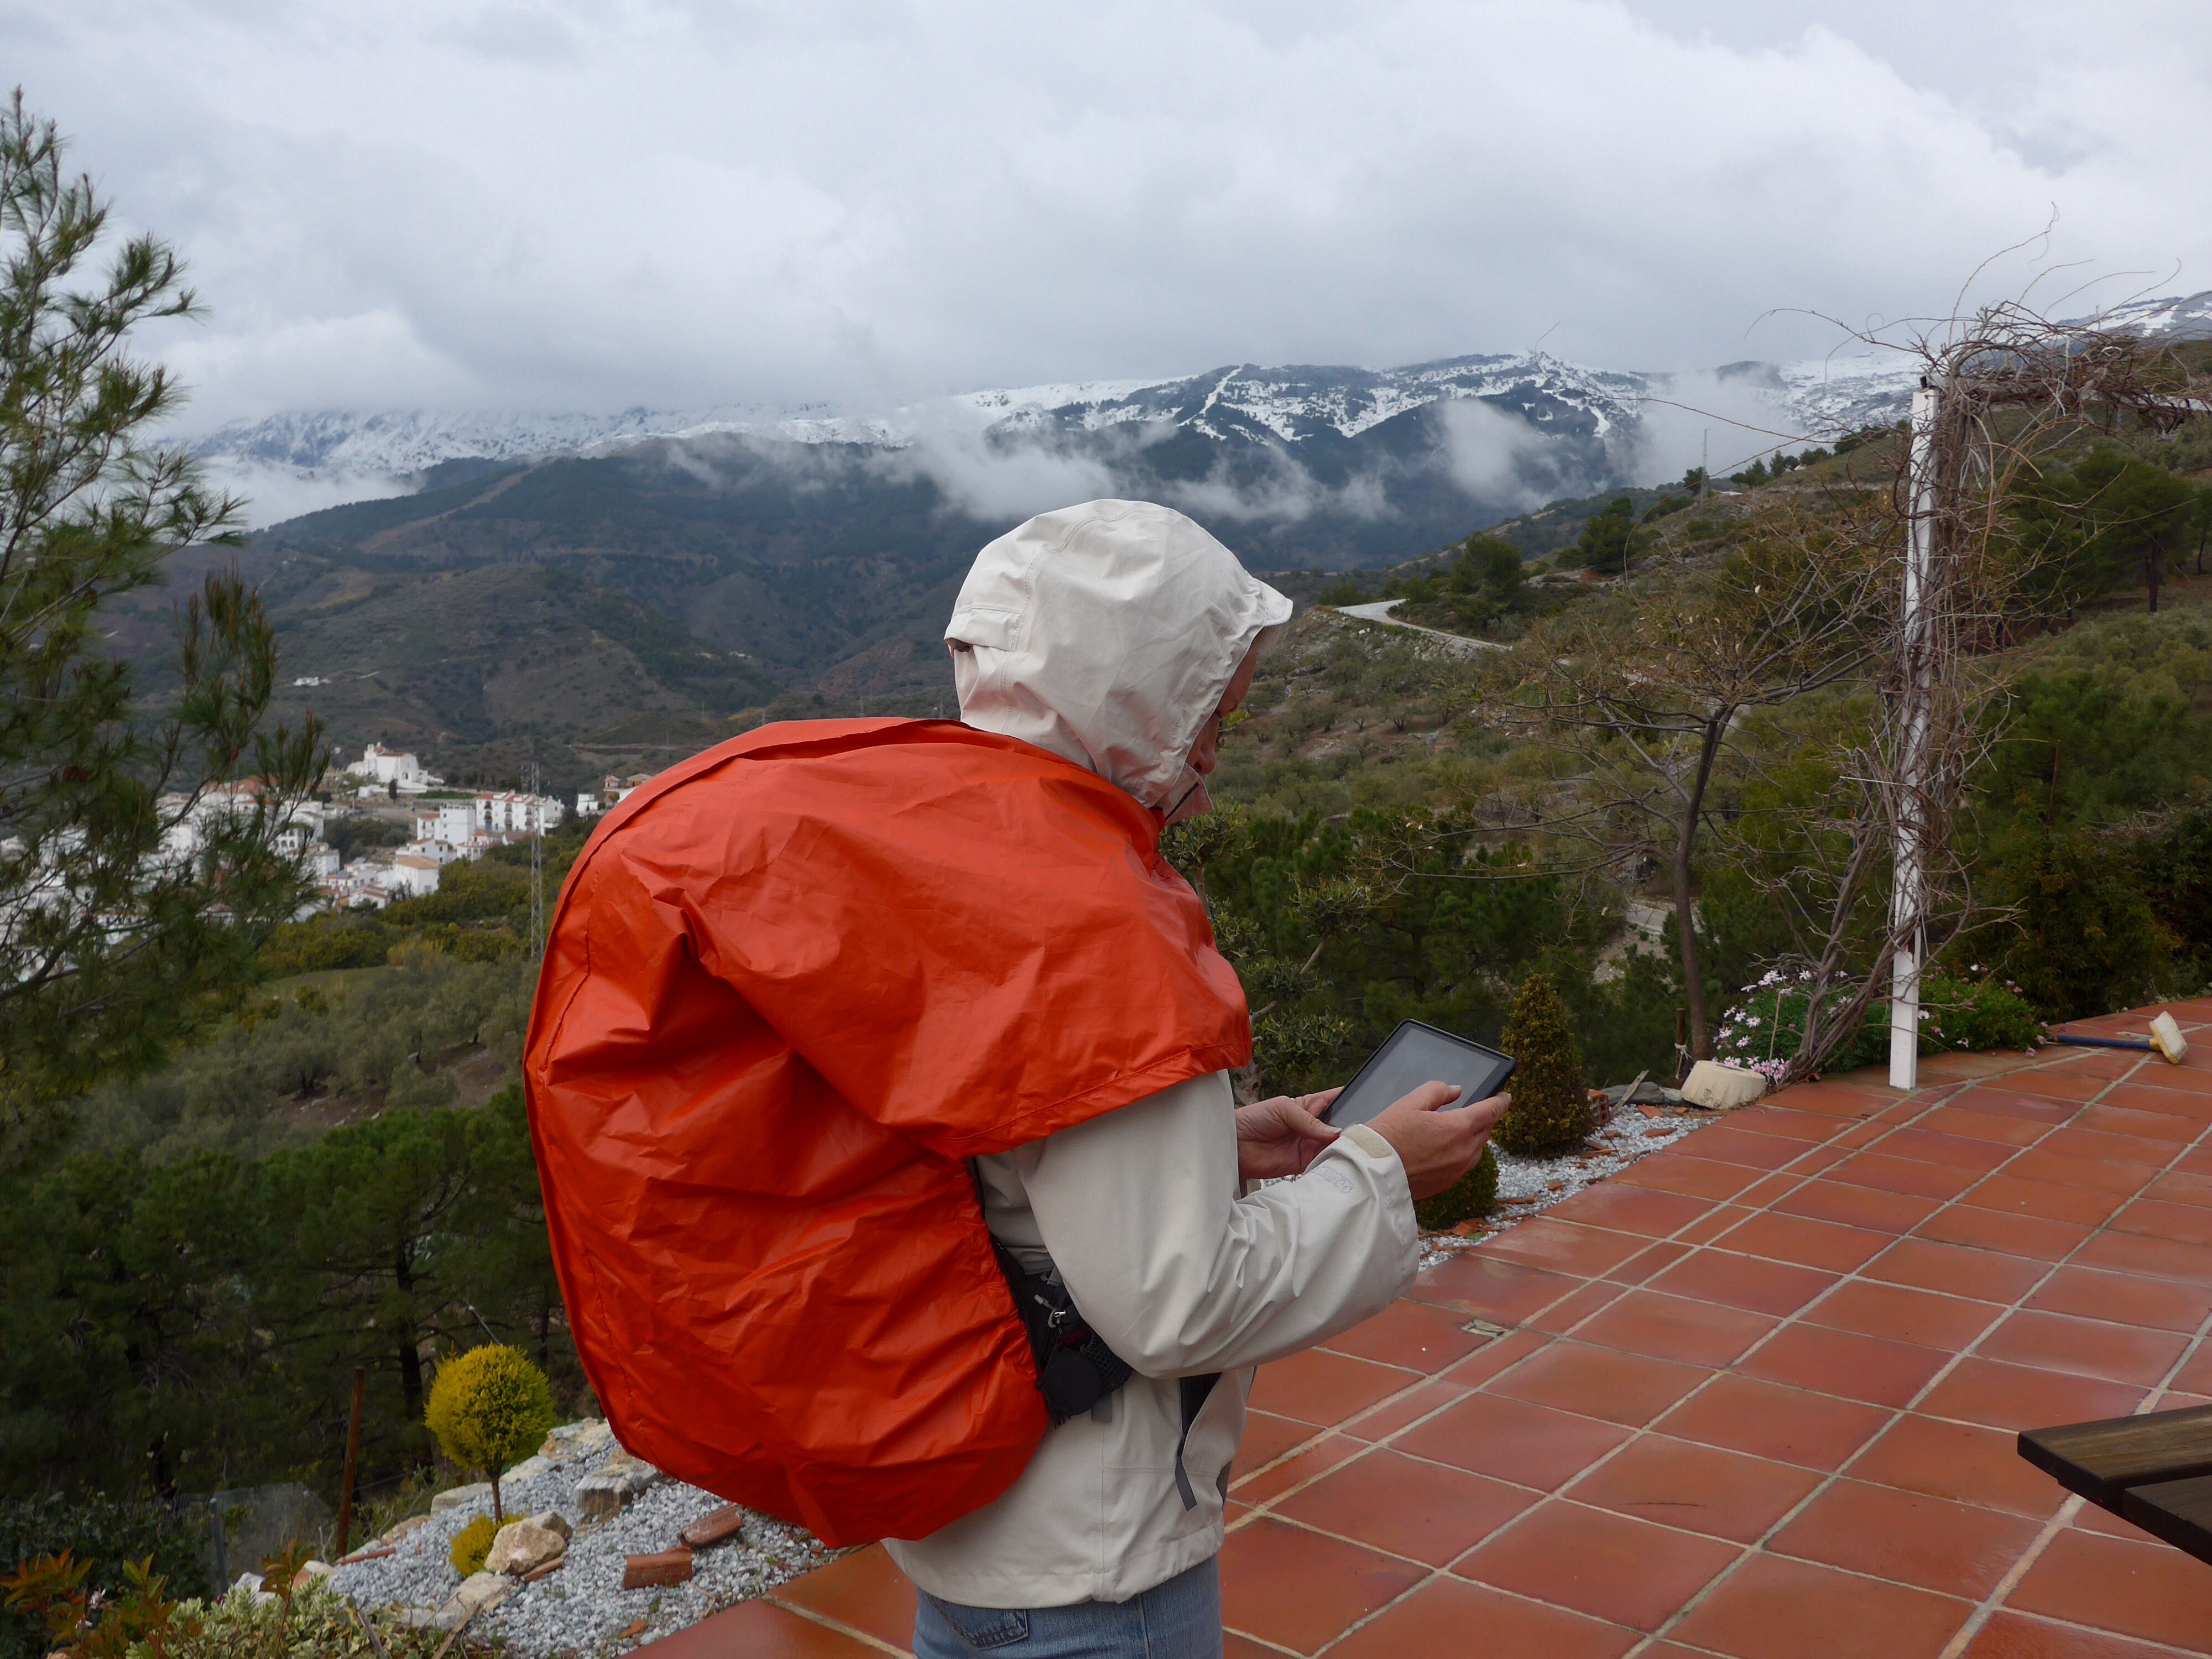

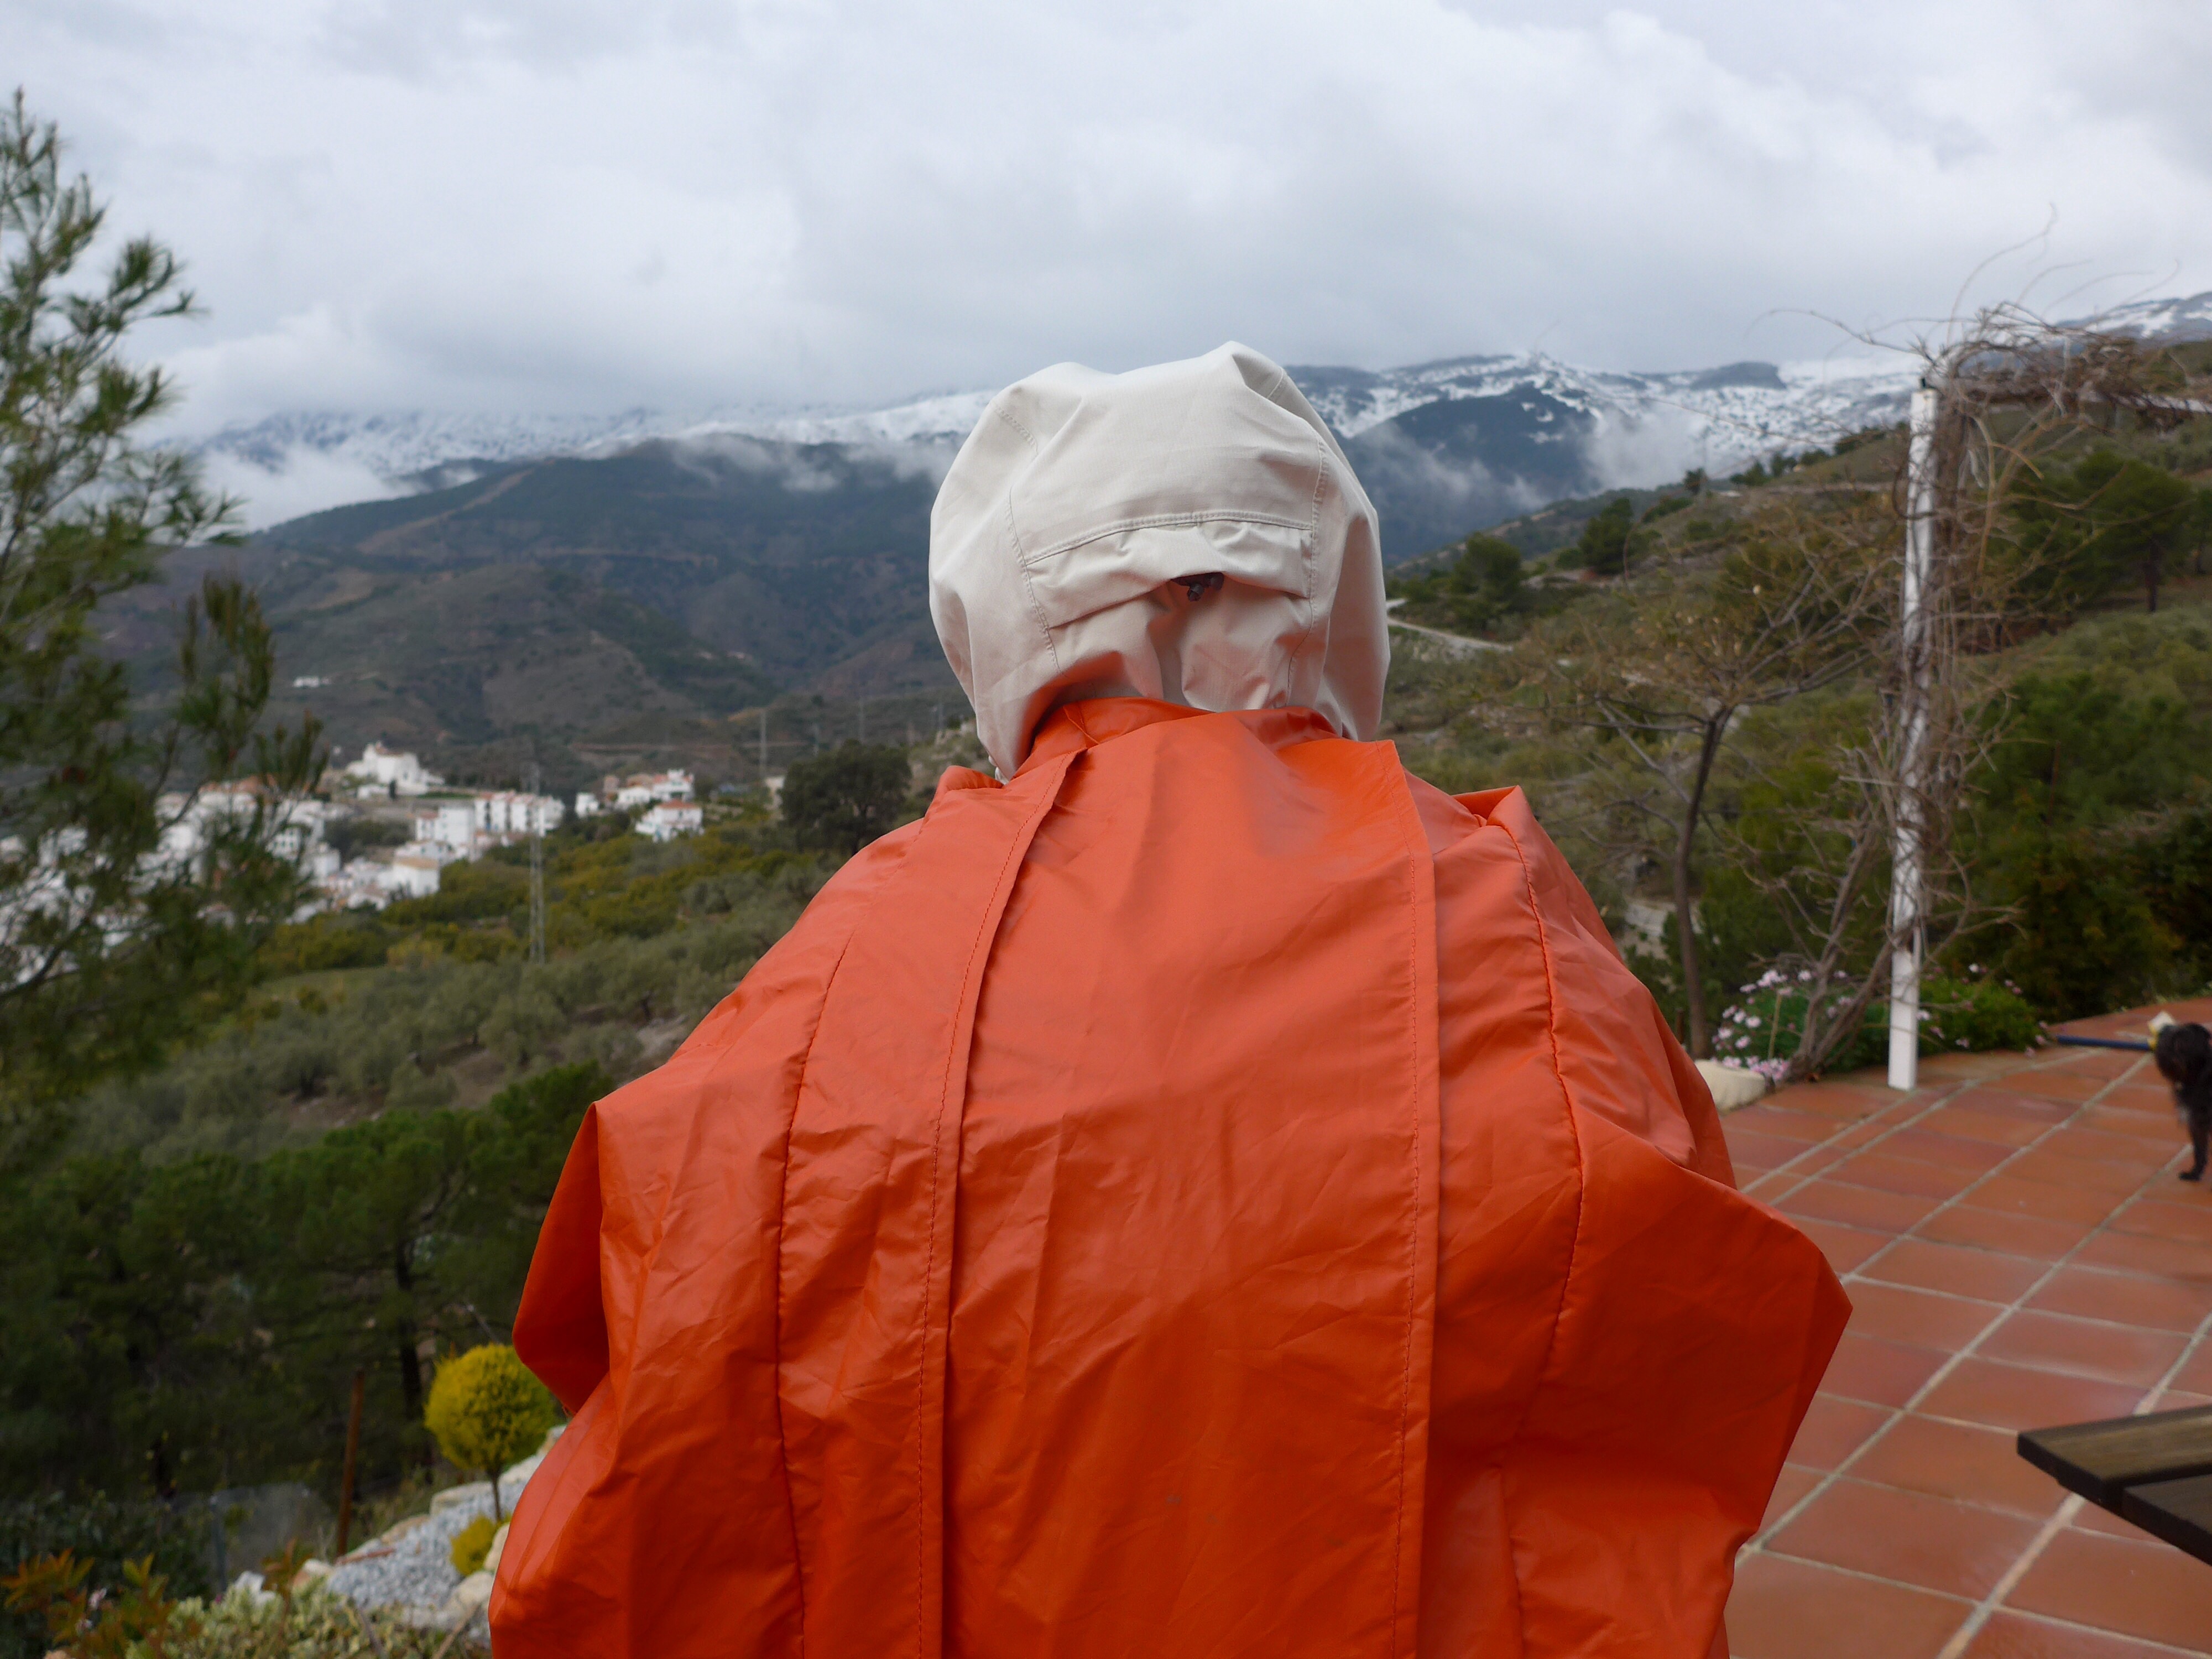

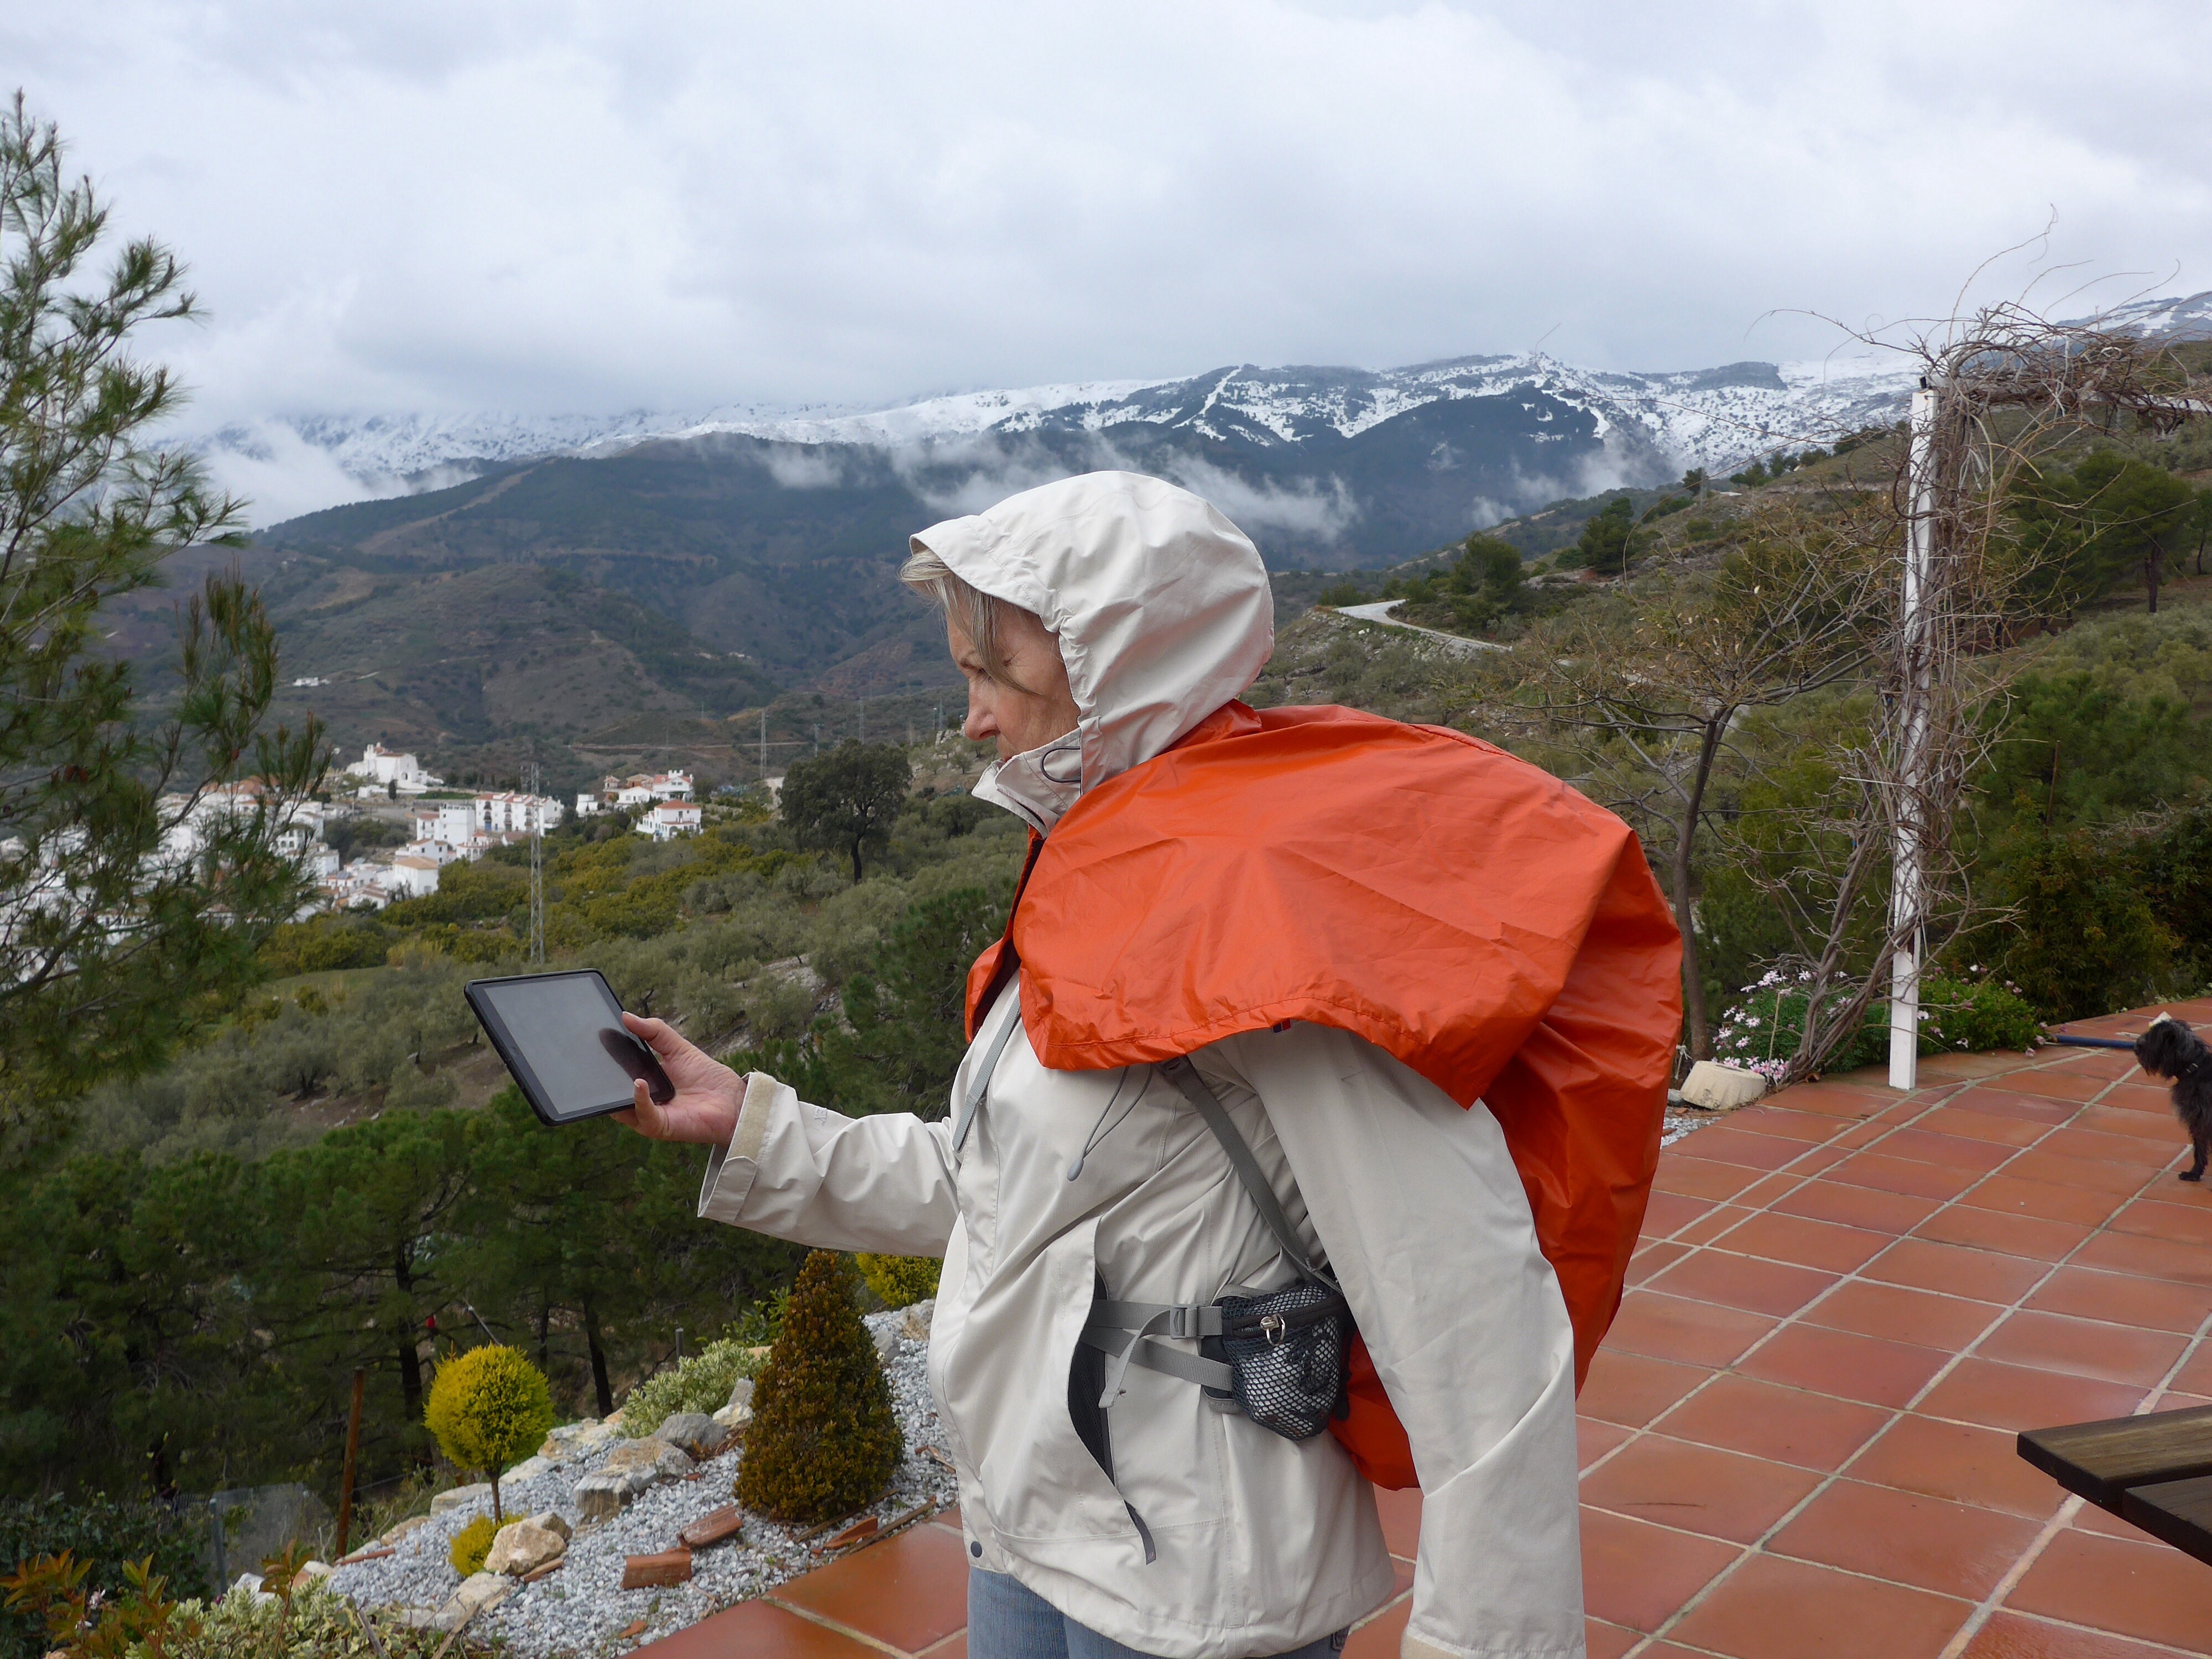
Incidentally, the photos were taken using my camera’s wifi remote control facility, via my iPad. Contrary to rumour, it is not the case that I am never seen without my iPad in my hand!


